for small businesses
An easy-to-use multi-line phone system
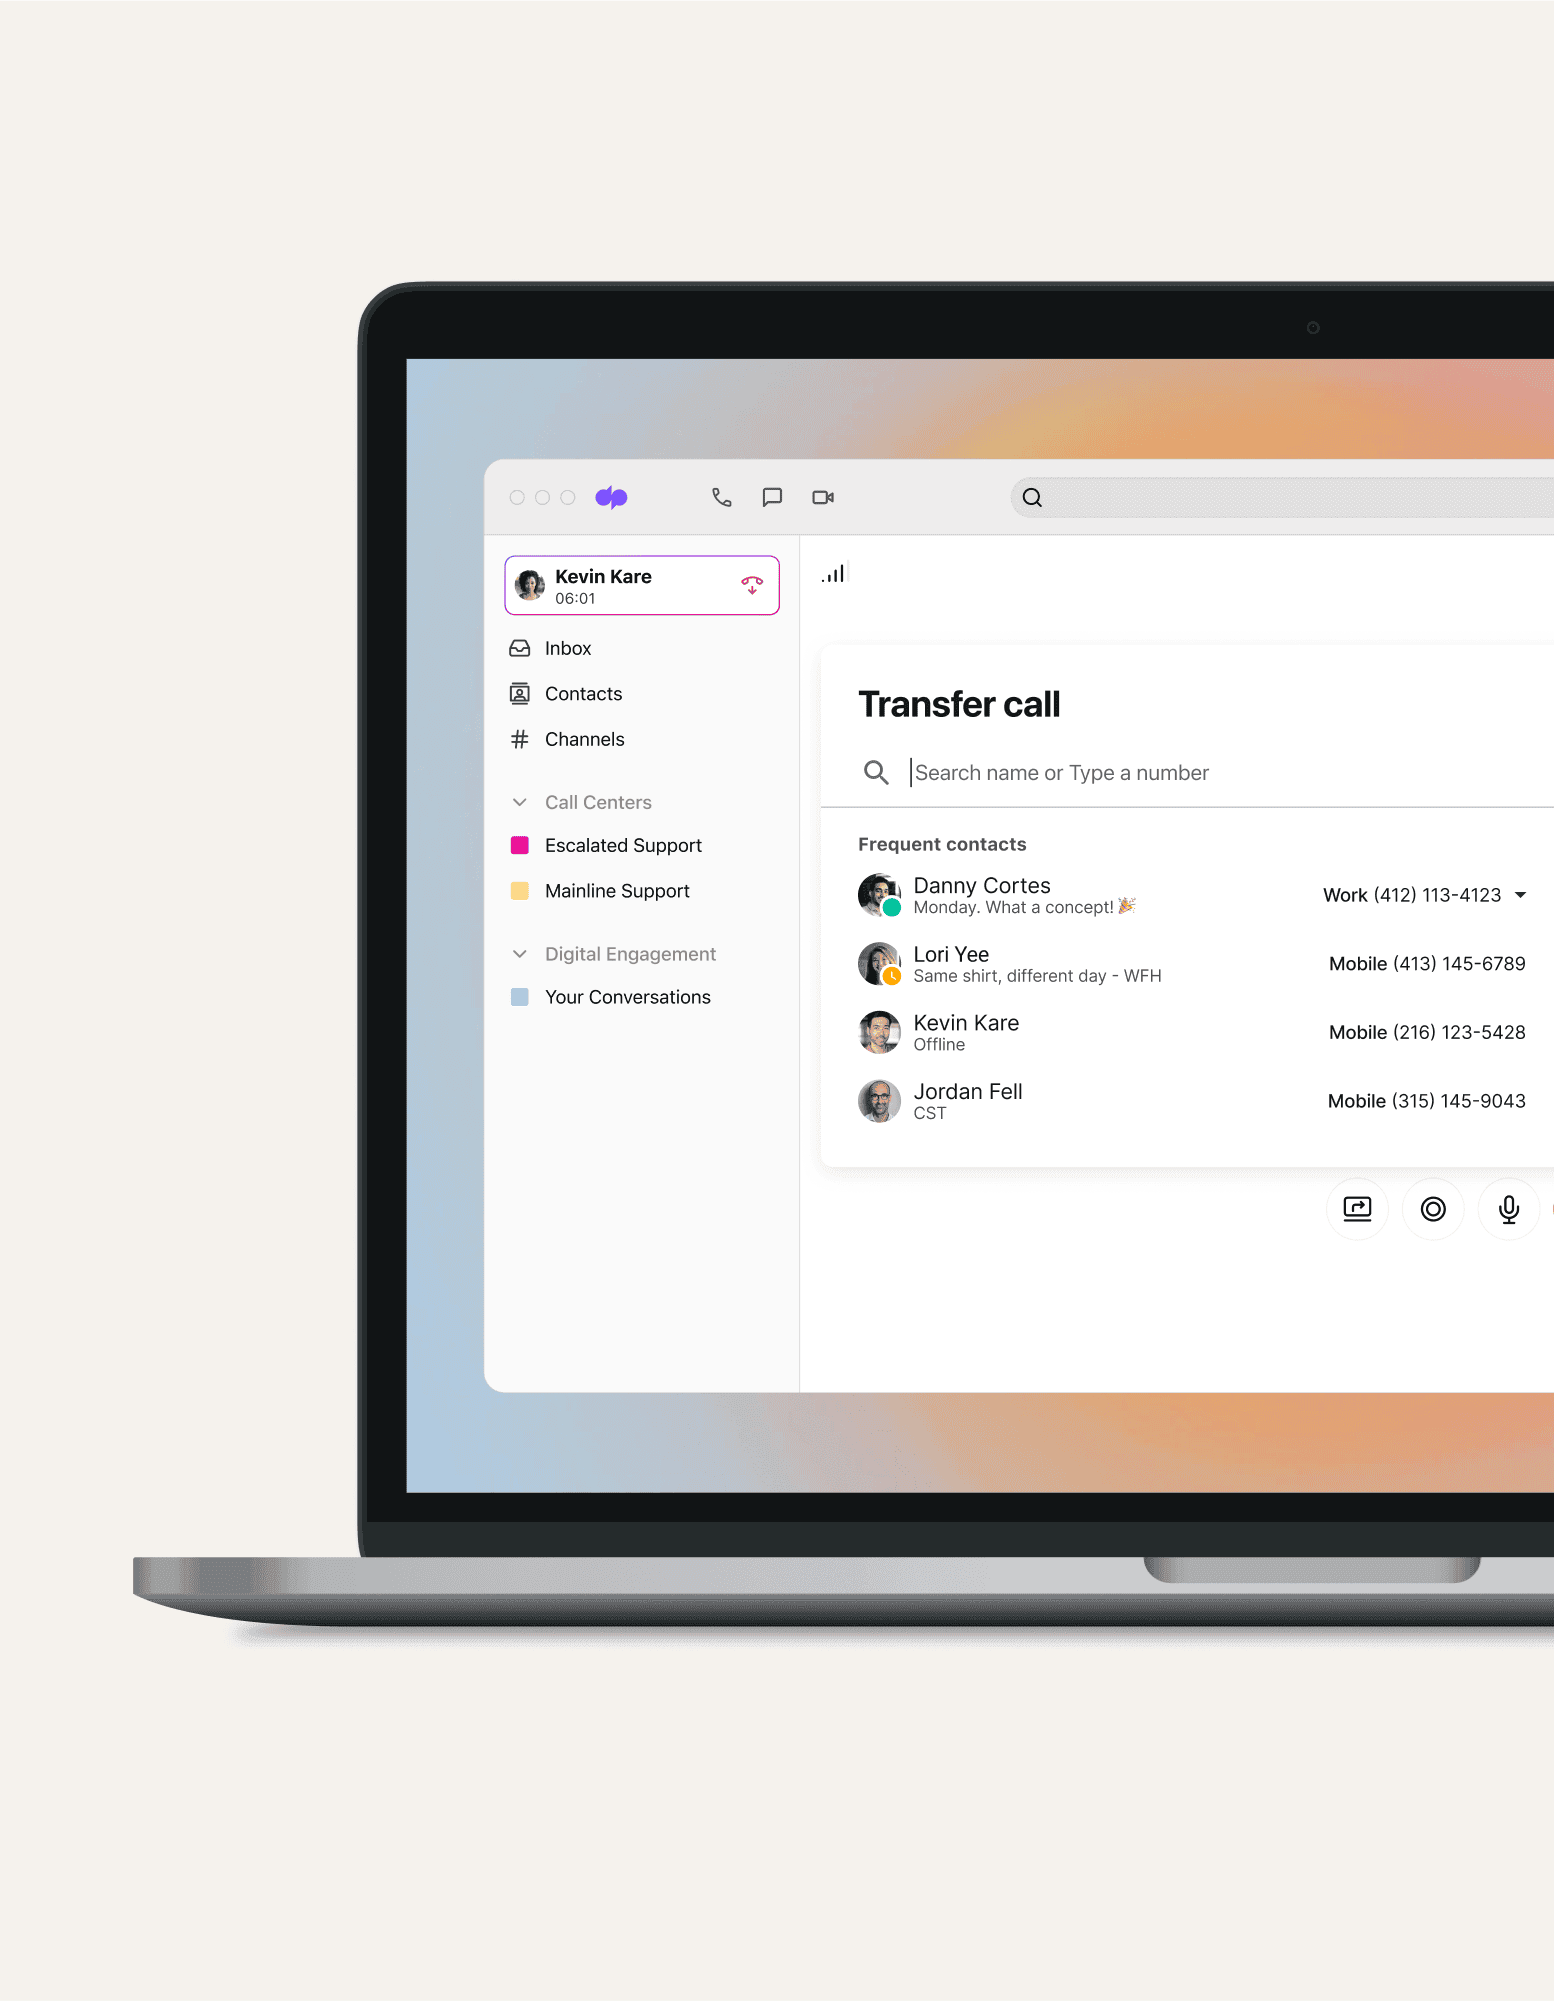
Whether you’re a solopreneur or a small business looking to scale, you probably need more than a single-line phone system. Dialpad’s AI-powered collaboration platform comes equipped with a multi-line phone system that scales with you—letting you easily add as many phone lines as you need. Try it for free and get set up with a virtual business number in minutes!
What is a multi-line phone system?
Essentially, a multi-line telephone system lets you manage multiple phone calls at the same time. That means you can screen all incoming calls from one device and have multiple phones operating at the same time.
These lines can be both internal and external, meaning that you can connect to customers, clients, colleagues—pretty much anyone you need to talk to for work.
How do multi-line phone systems work?
Multi-line phone systems (sometimes referred to as multi phone line systems) typically have the same fundamental functionality as single-line telephone systems—the main difference is they let you sustain more than one conversation at a time.
Before, if you were taking a voice call on a single-line phone, any other incoming calls would be sent to a busy tone or straight to voicemail—not great if you have lots of customers calling in.
🌿 Getting into the weeds:
Multi-line phone systems give you a more versatile business communications option—they use separate cordless extensions to connect multiple lines to a singular device and multiple devices to the same telephone lines. The result: You can have a bunch of calls, and serve multiple customers, at once, without tying up a single phone line.
With Dialpad, you get more than just the best multi-line phone system features
Truly unified communications
Dialpad isn't just a phone system. You can make phone calls, have video meetings, send instant + SMS/MMS messages, and more—all from the same softphone app!

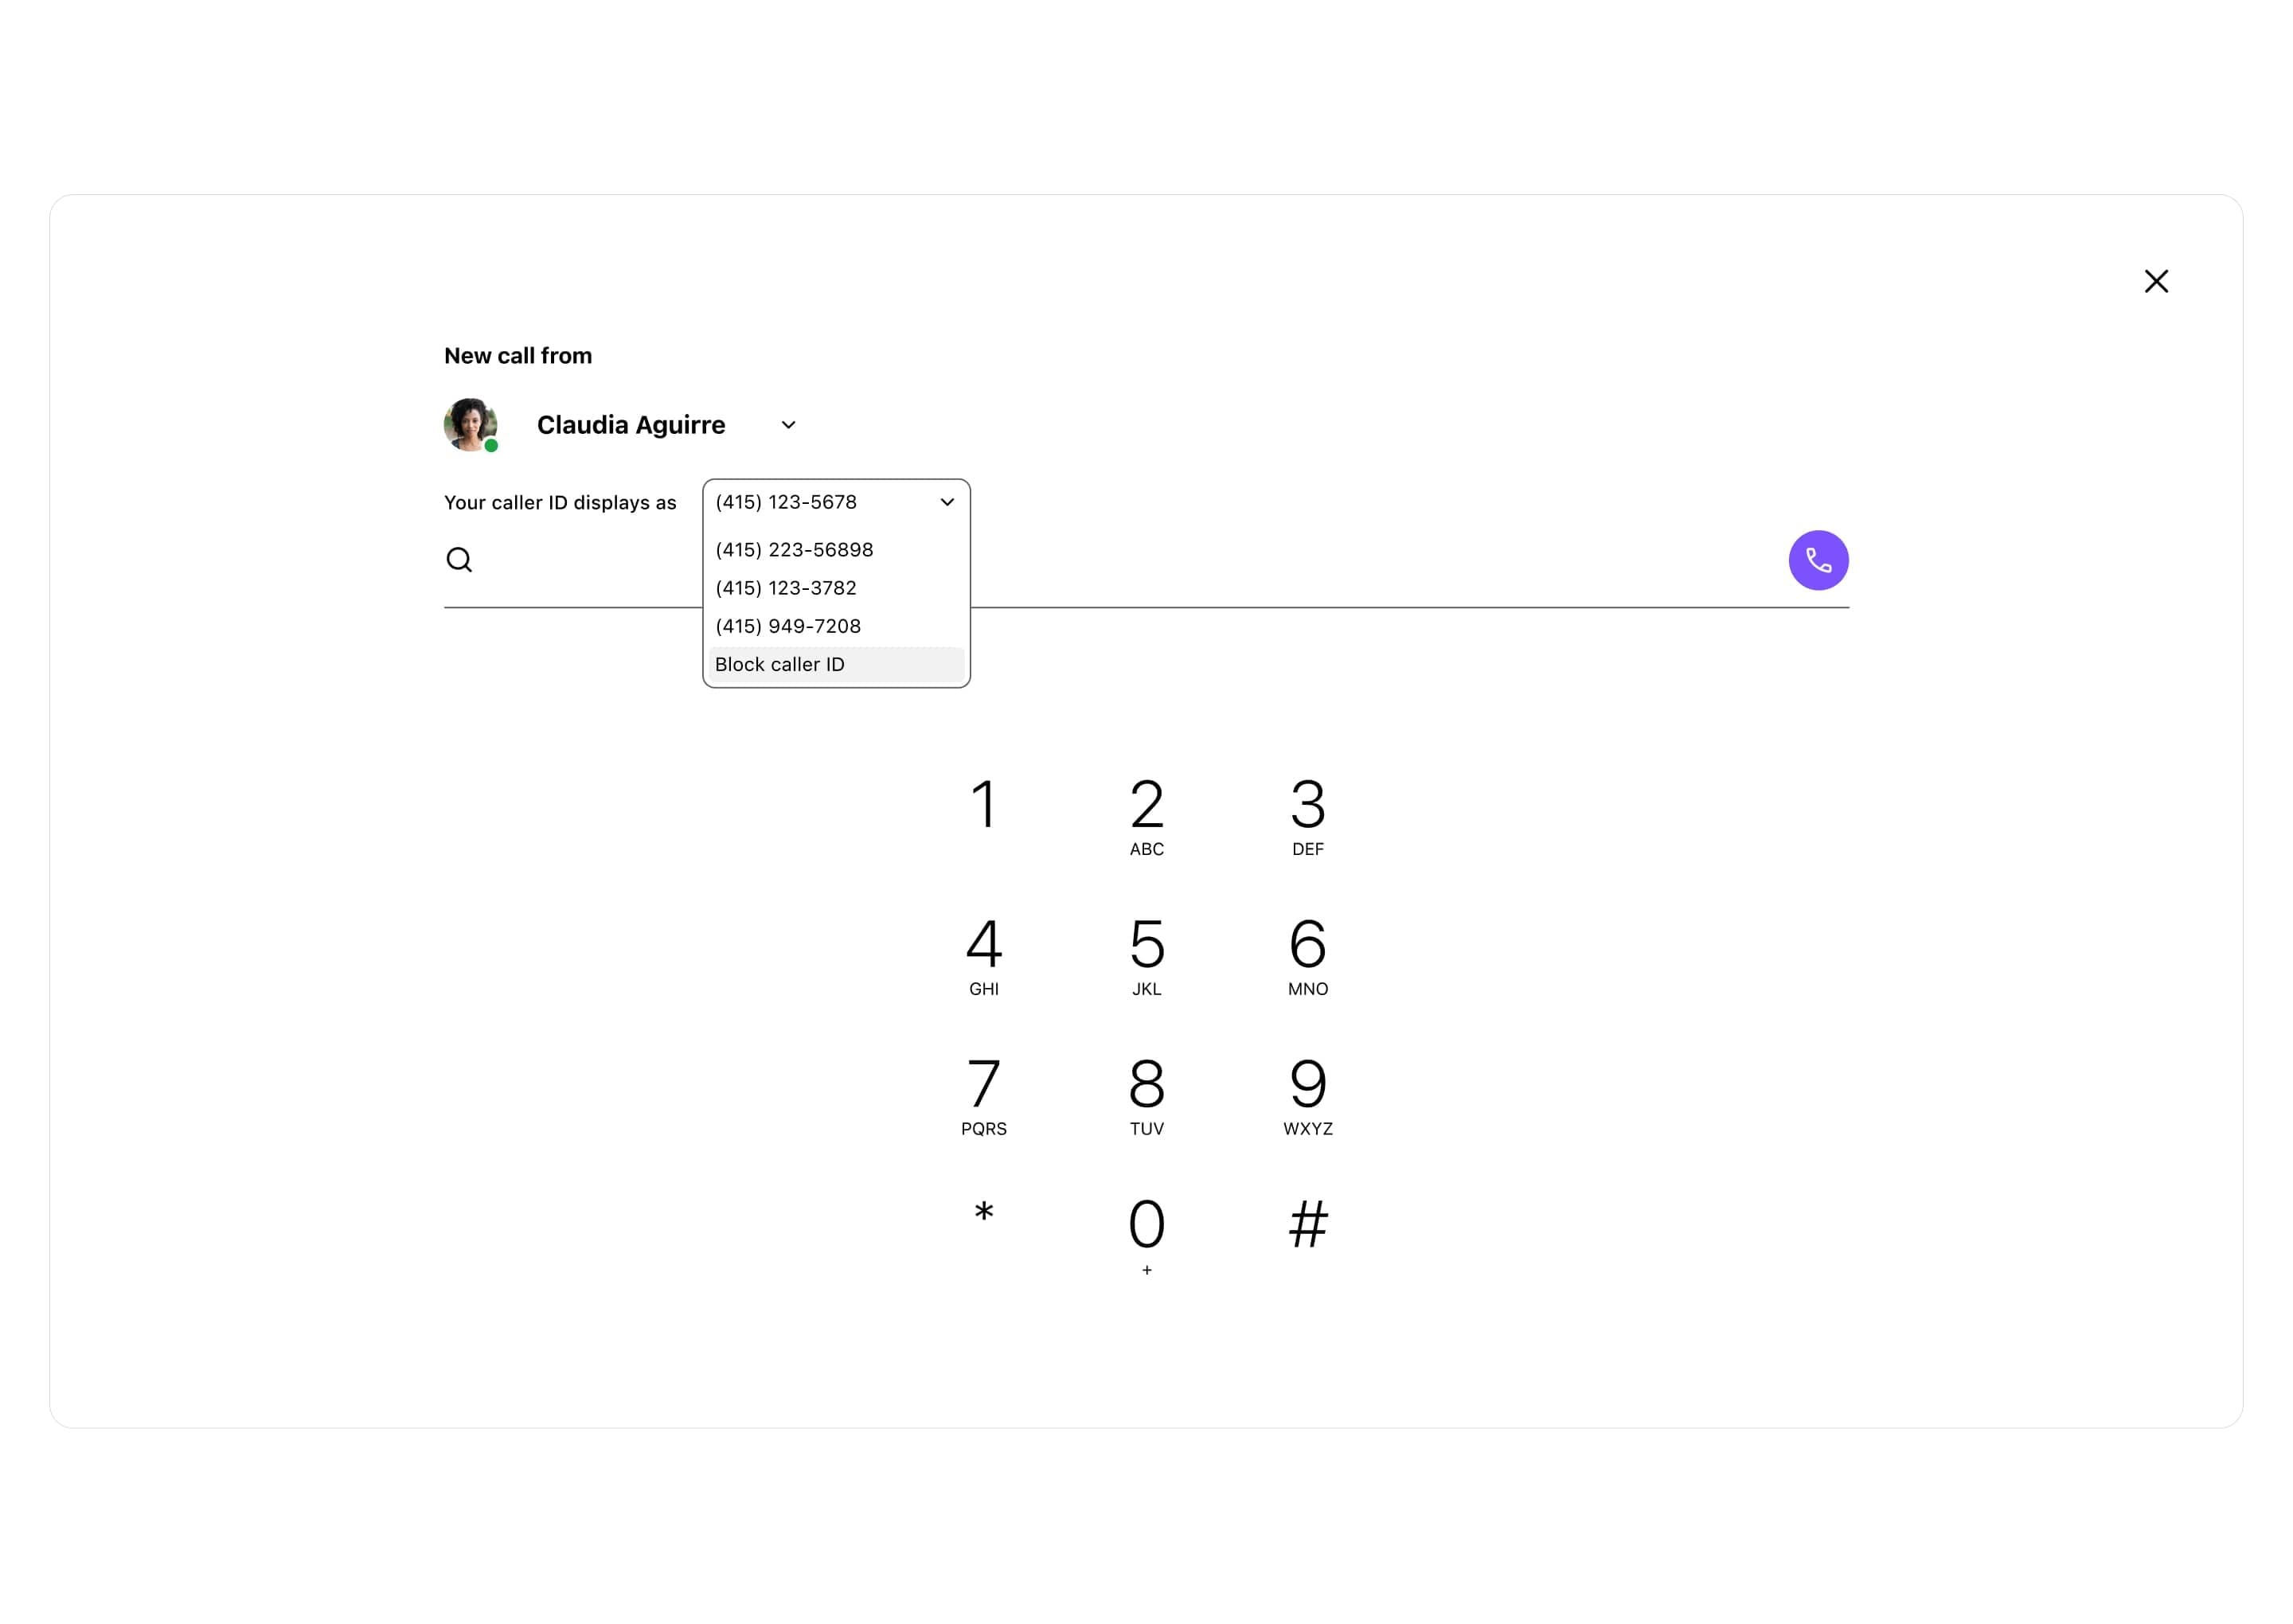
Customizable caller ID
Your phone system should let you personalize your caller ID to let customers or prospects know who's calling. This way, you can also make phone calls from your personal phone without sharing your small business phone number. And yep, that's exactly what you can do with Dialpad.
Voicemail
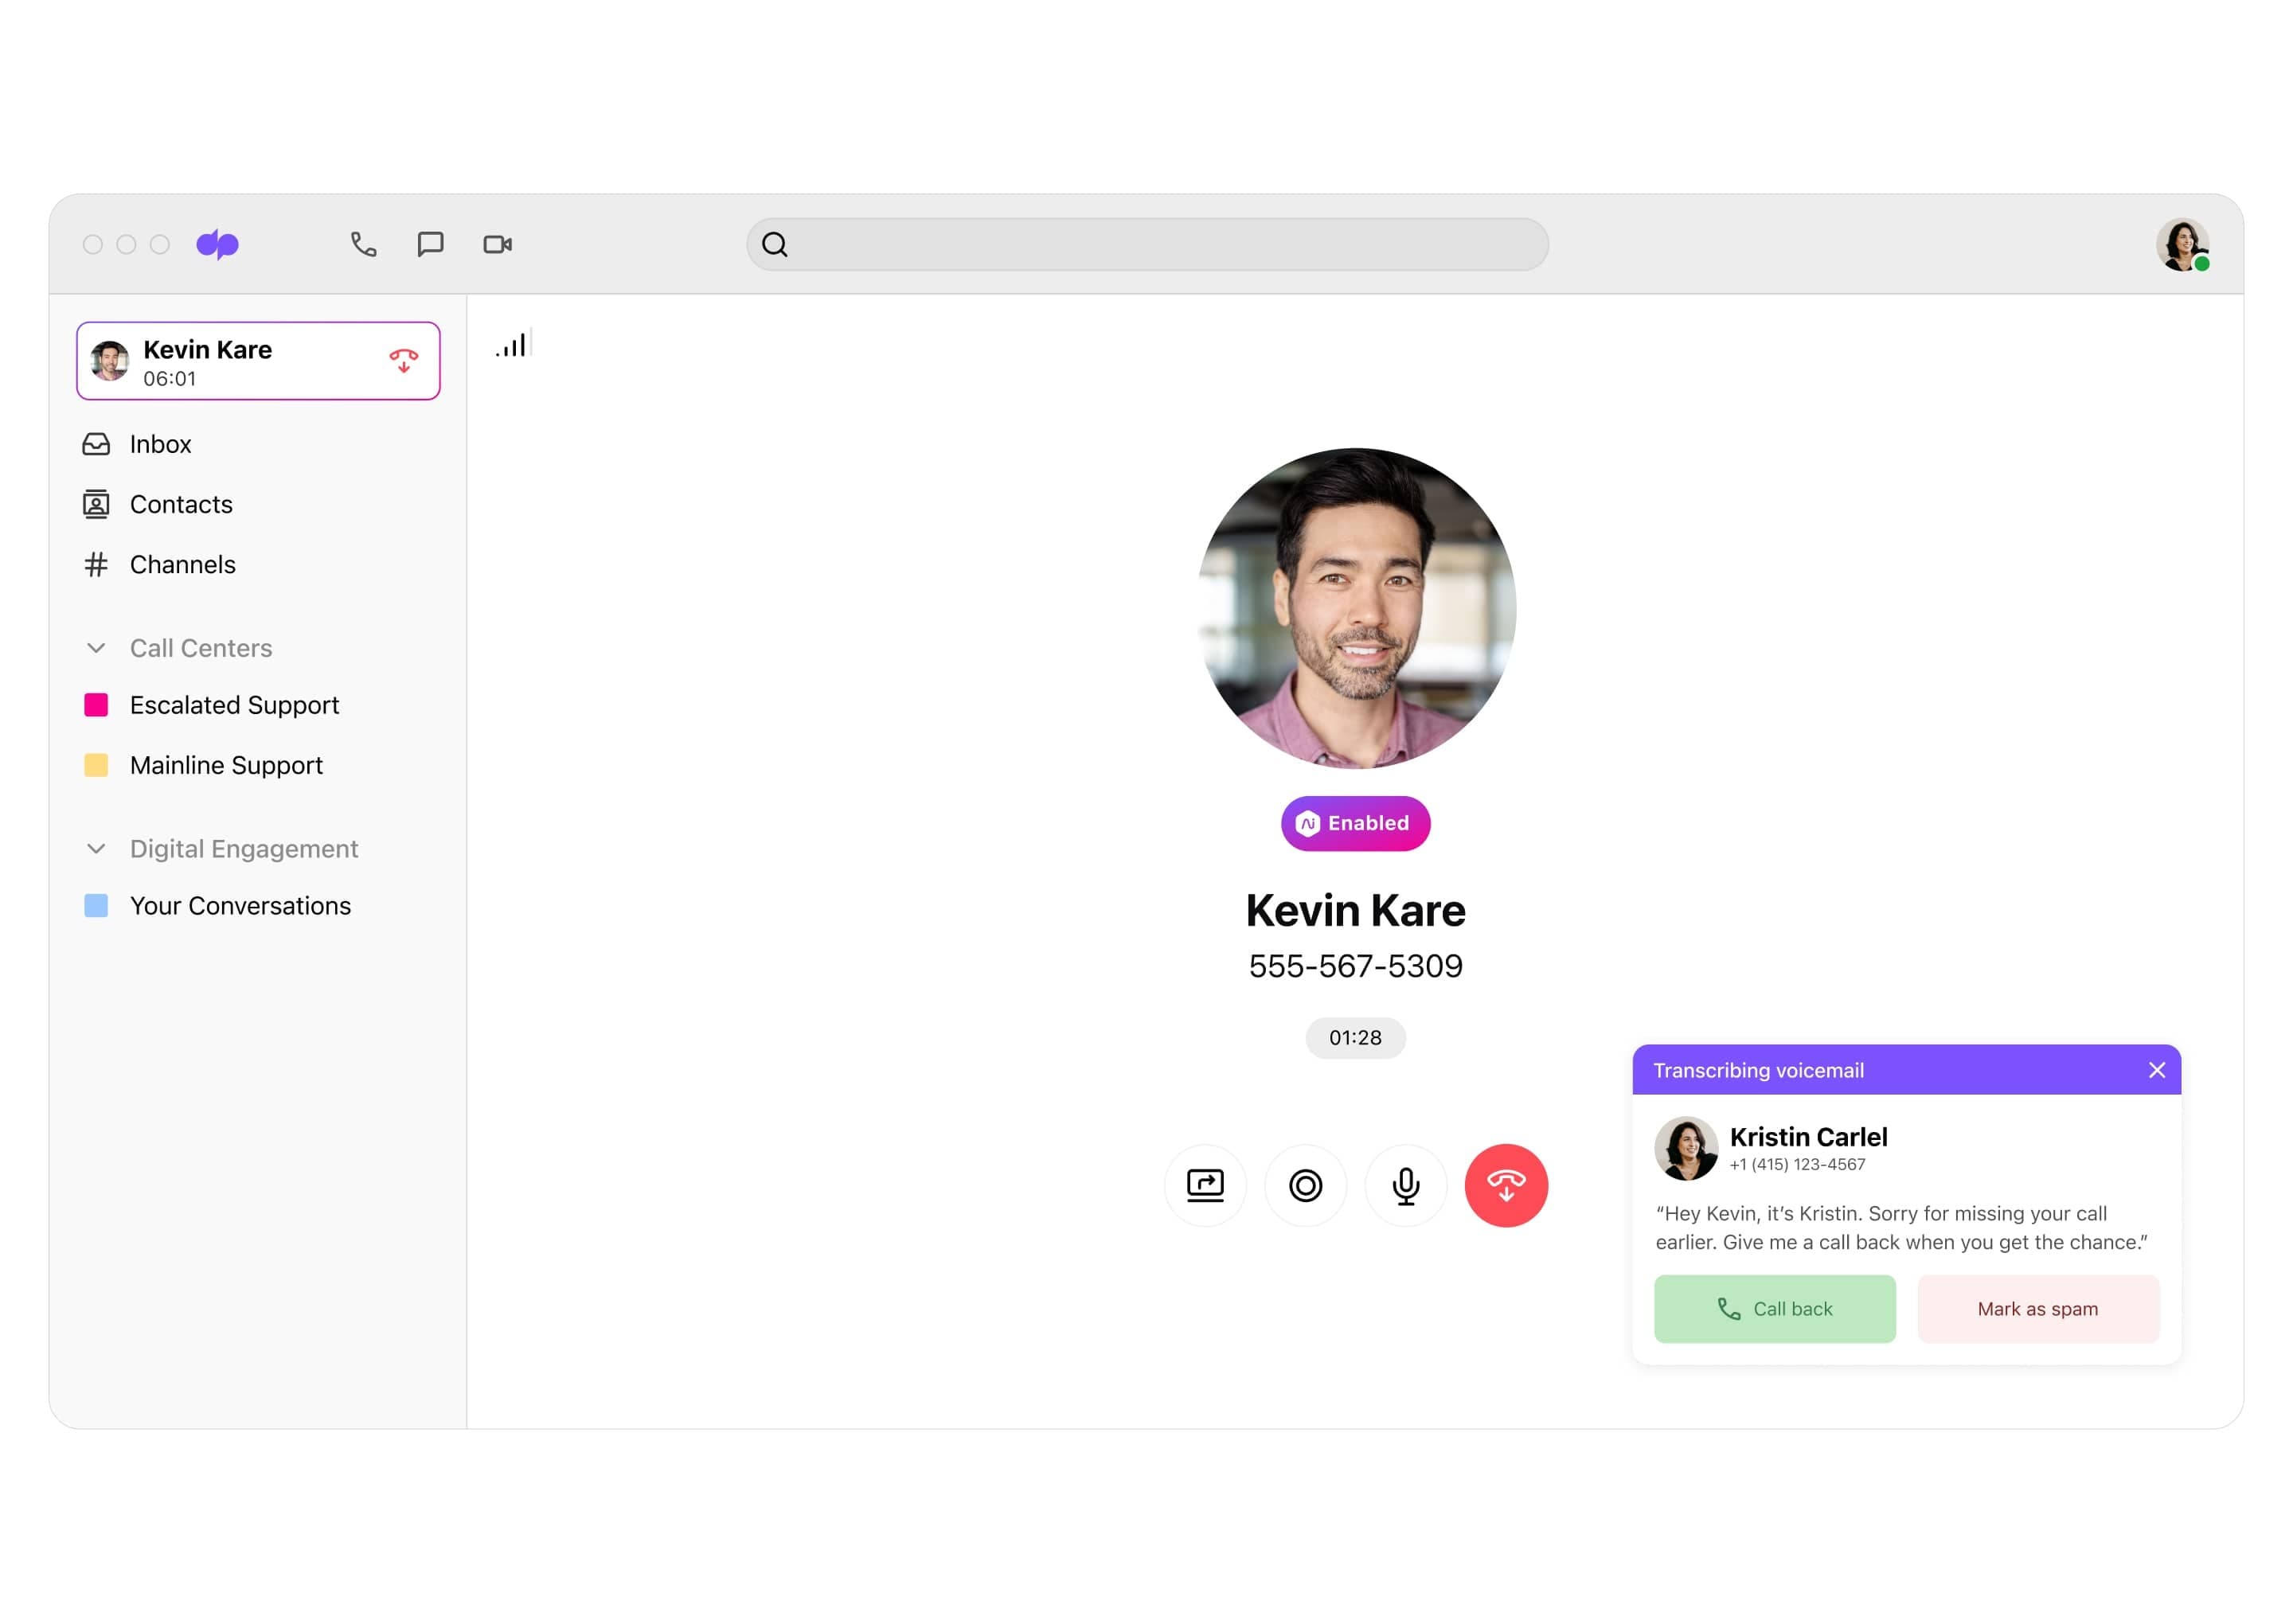
With Dialpad, you can easily upload or change your voicemail greeting from your online dashboard. But beyond that, there's also a visual voicemail feature that transcribes your messages. Stuck in meetings all day and can't listen to them? Read them instead!
Auto attendant and call routing
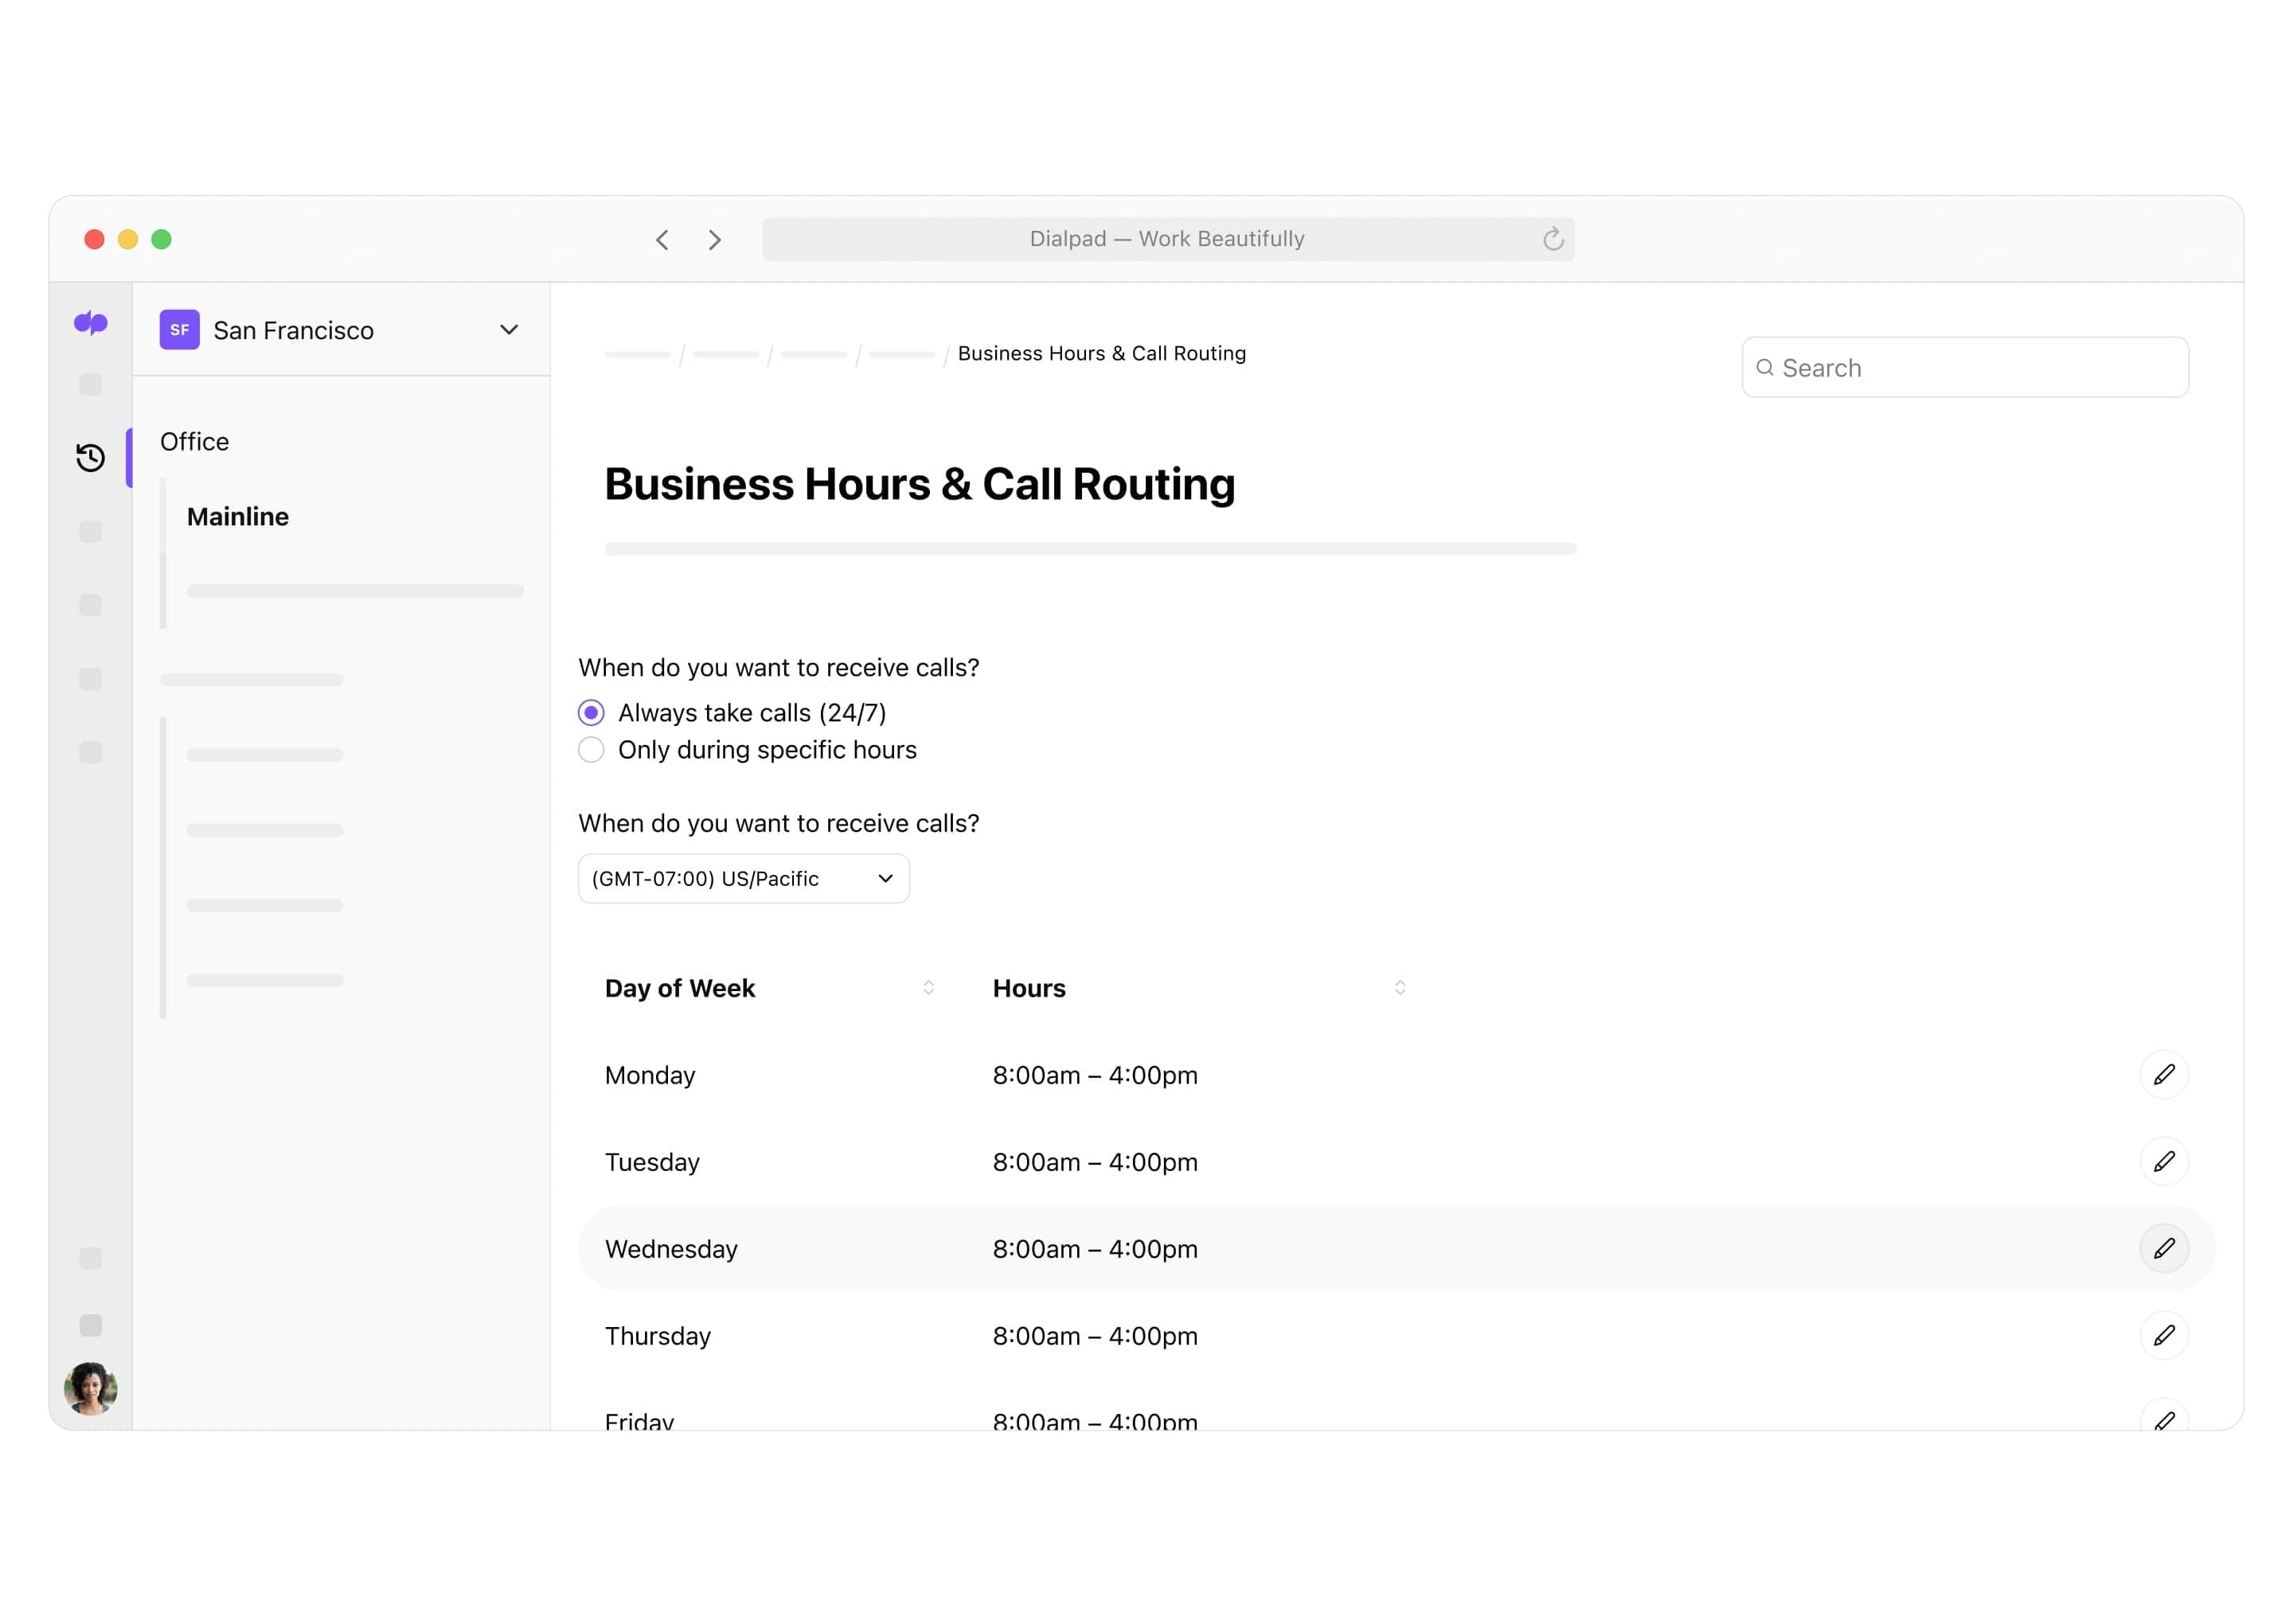
A good auto attendant and call routing feature lets your callers route themselves to the right person or department. This takes a lot of manual work off your team's plate, since you don't need someone to route incoming calls. Update your call routing anytime, right from your dashboard.
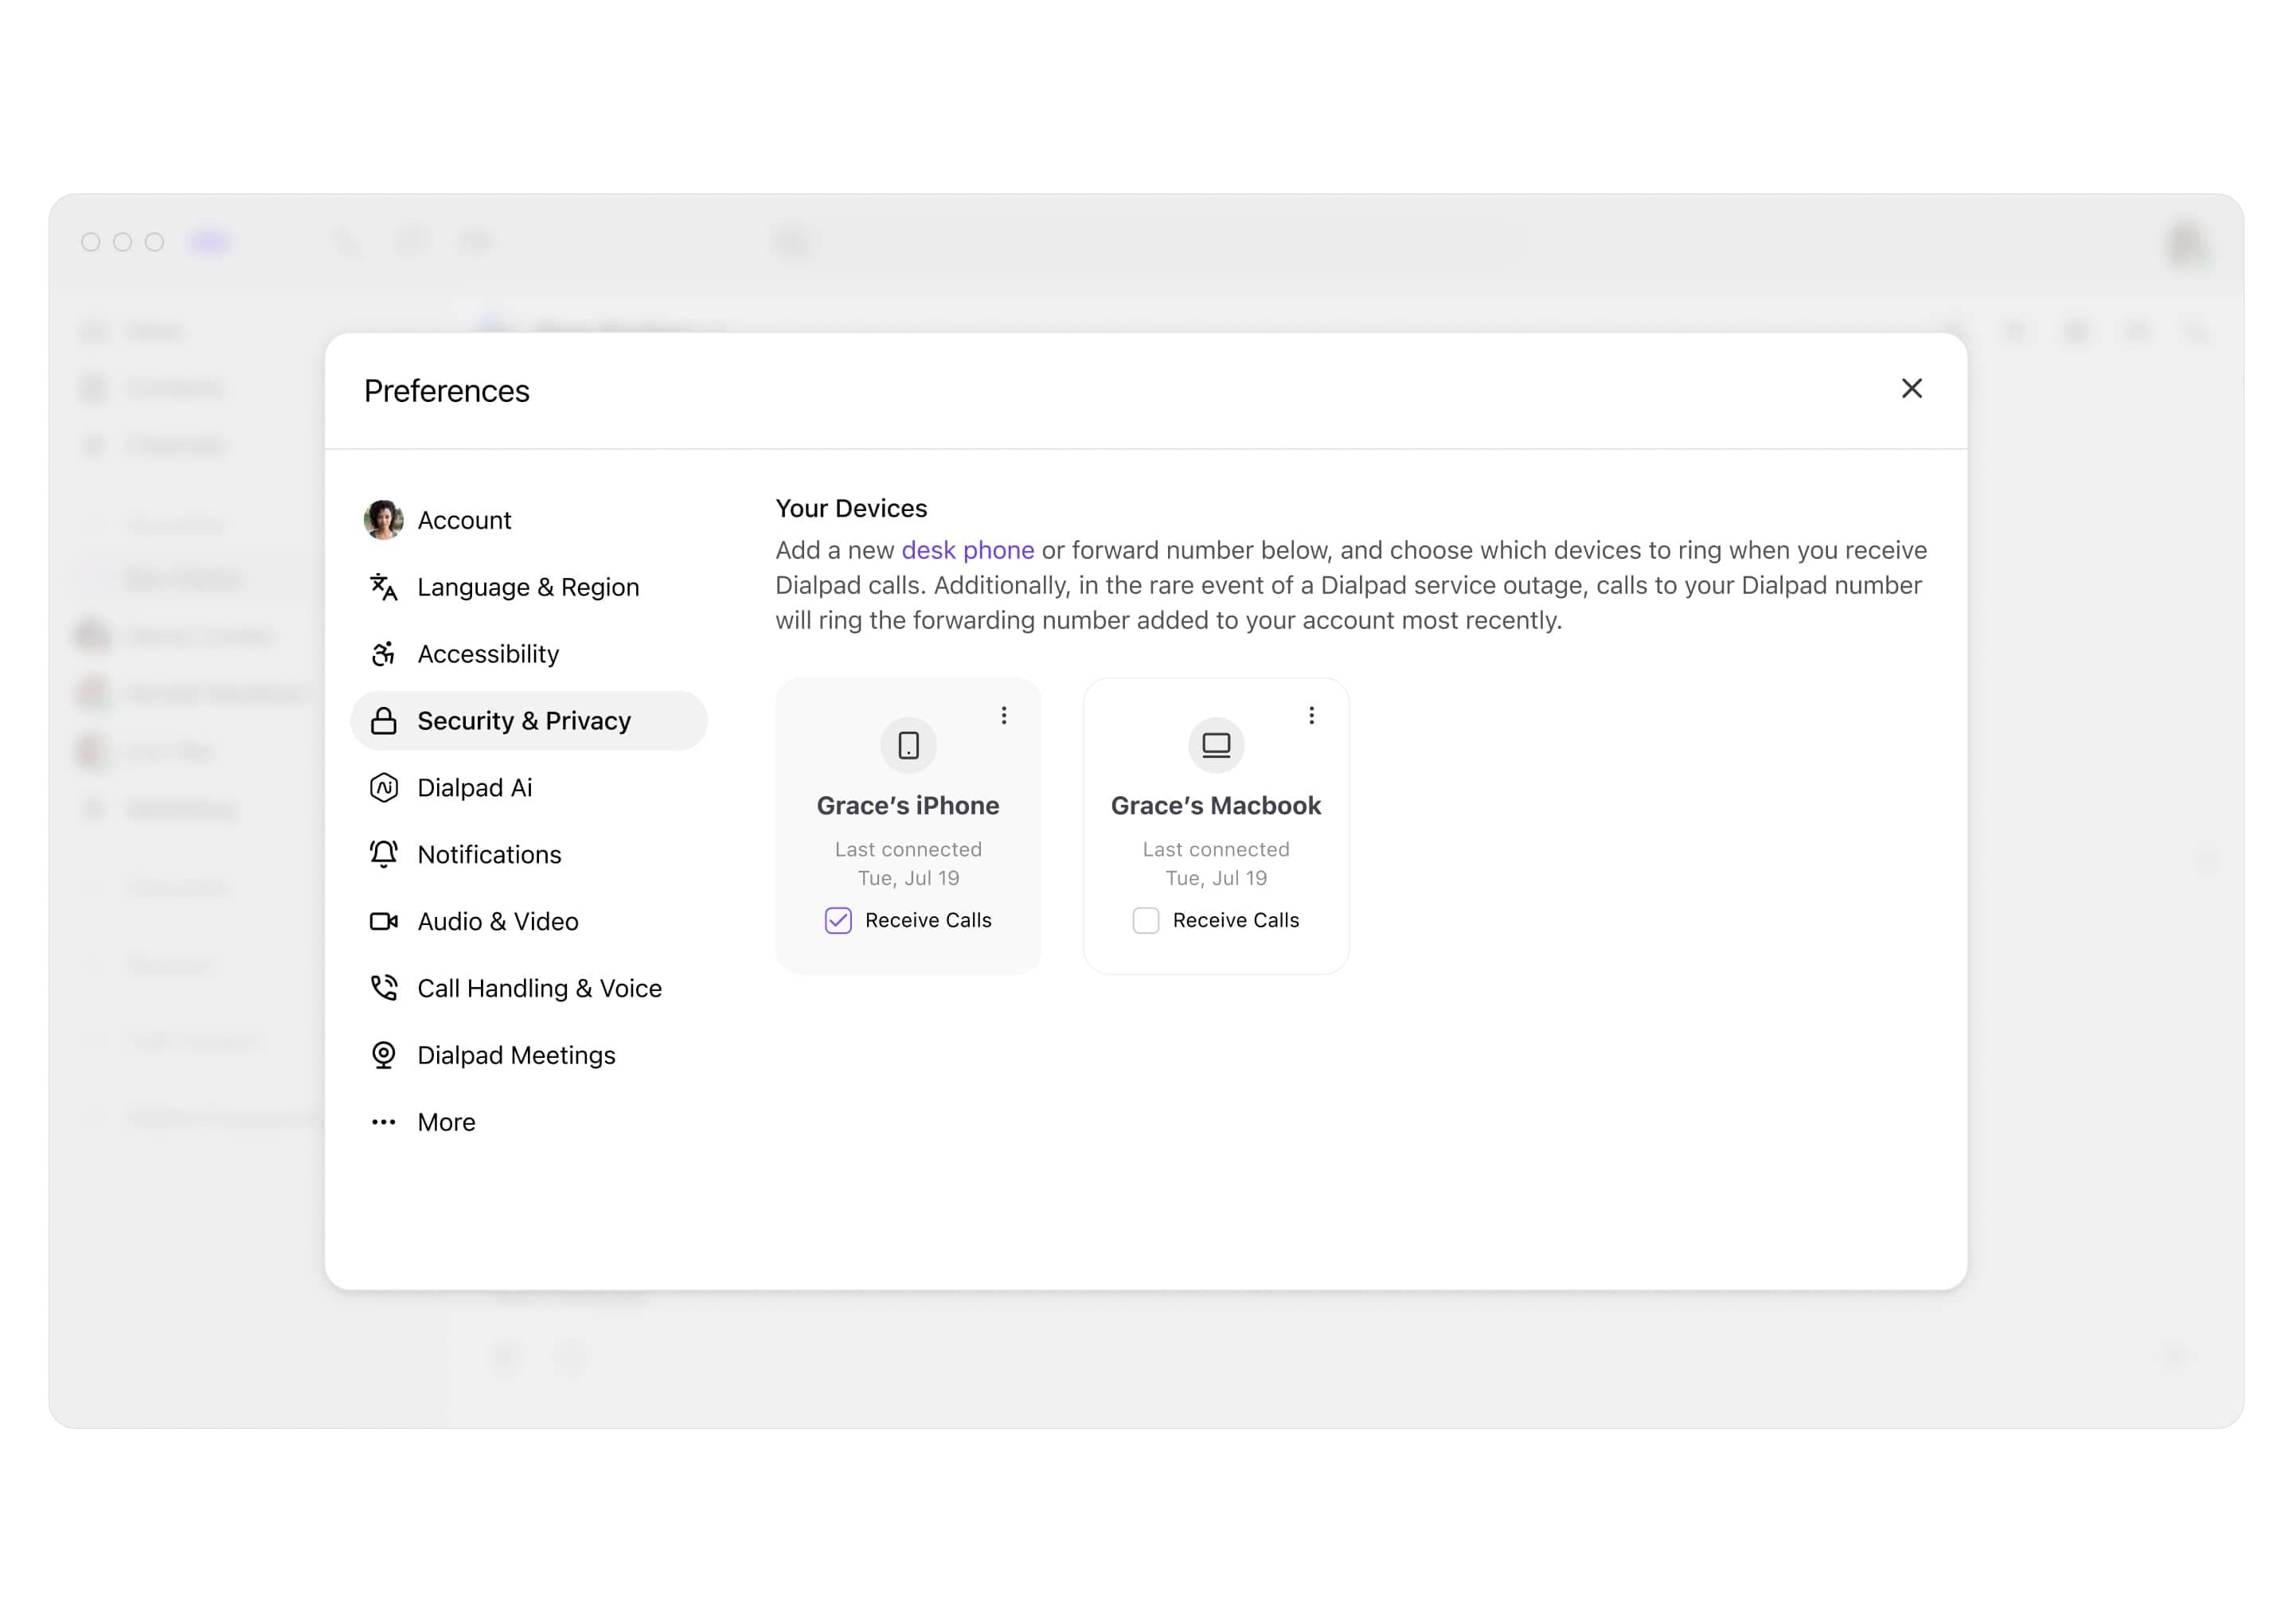
Flexible call forwarding
Don't make your callers wait on hold (although we have some pretty great hold music). Set up a maximum of five call forwarding phone numbers to automatically route calls to a colleague, department, or your cell phone. Never miss an incoming call again!
Need a multi-line phone system for your small business?
Dialpad gives you a lot more than just phone calls. Sign up for a 14-day free trial to try it out yourself! It takes just a few minutes, and you'll even get set up with a virtual phone number. Or, take a self-guided interactive tour of the app on your own!
Real-time transcriptions
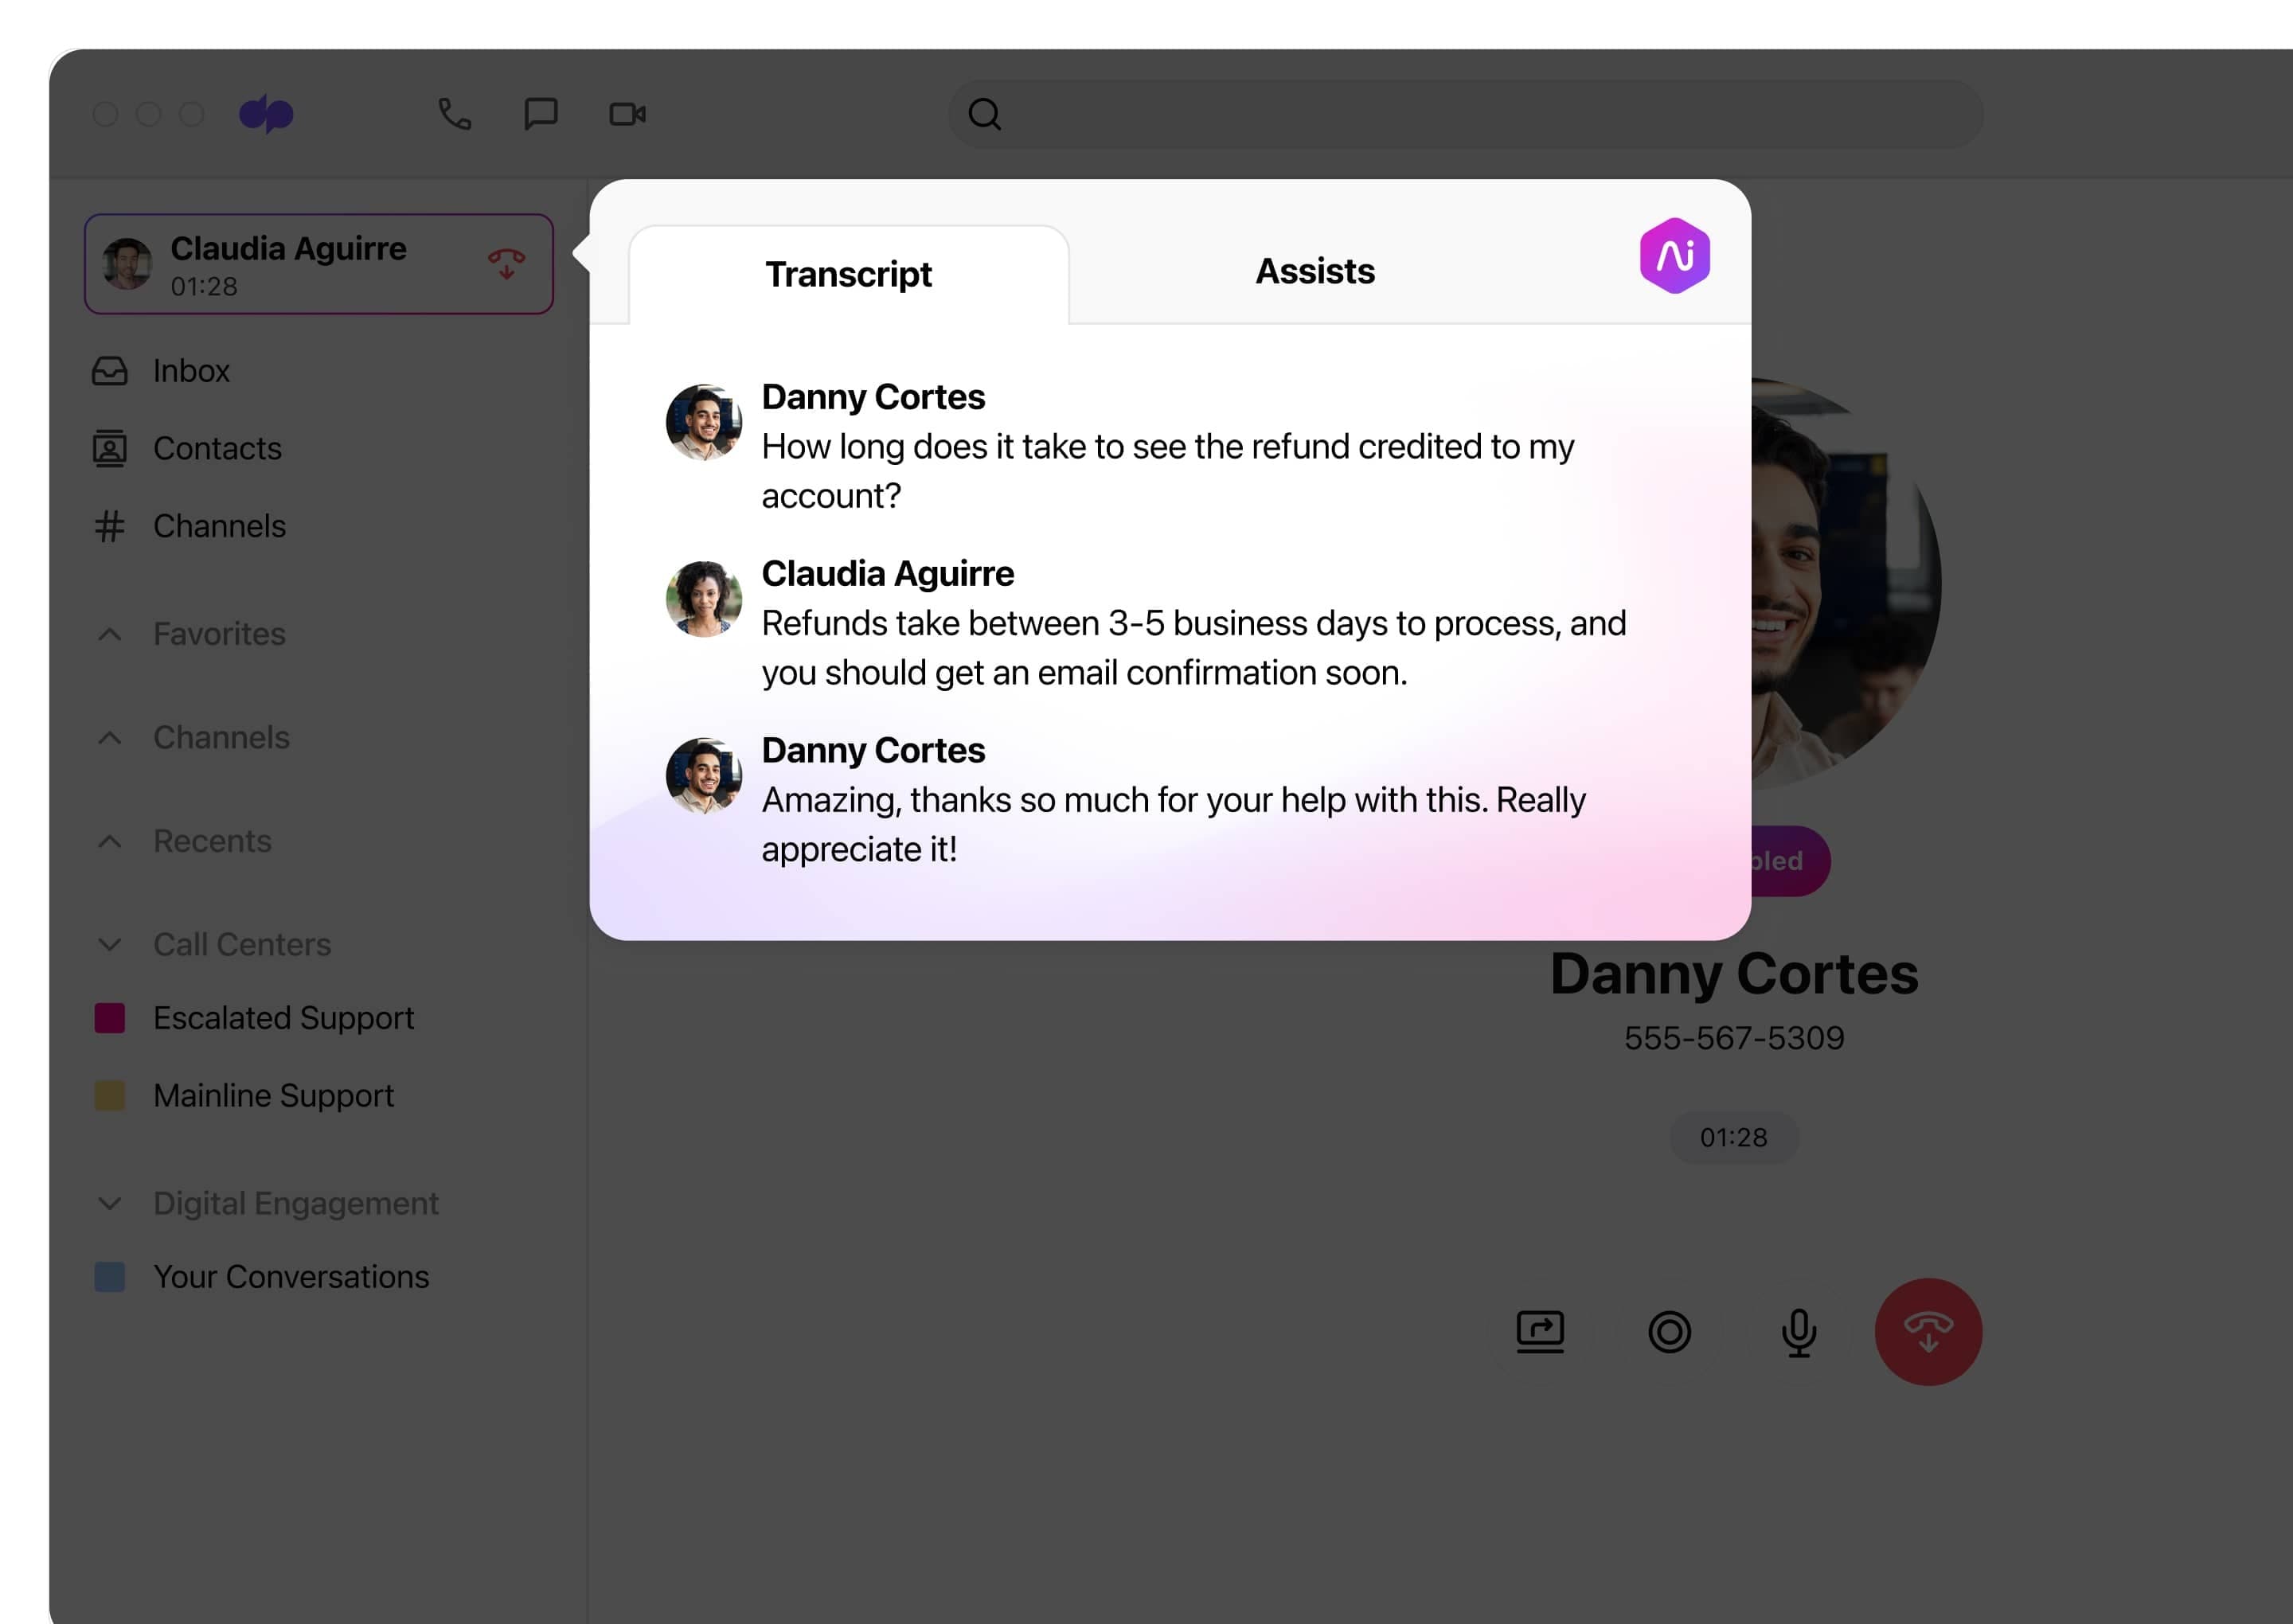
Meet Dialpad Ai. It's Dialpad’s proprietary Ai technology, and can transcribe your calls in real-time—even more accurately than almost all leading competitors. Not only that, it can also trigger Real-time Assist cards for customer support agents and do live sentiment analysis for calls to help contact center supervisors oversee multiple calls at once.
Call recording
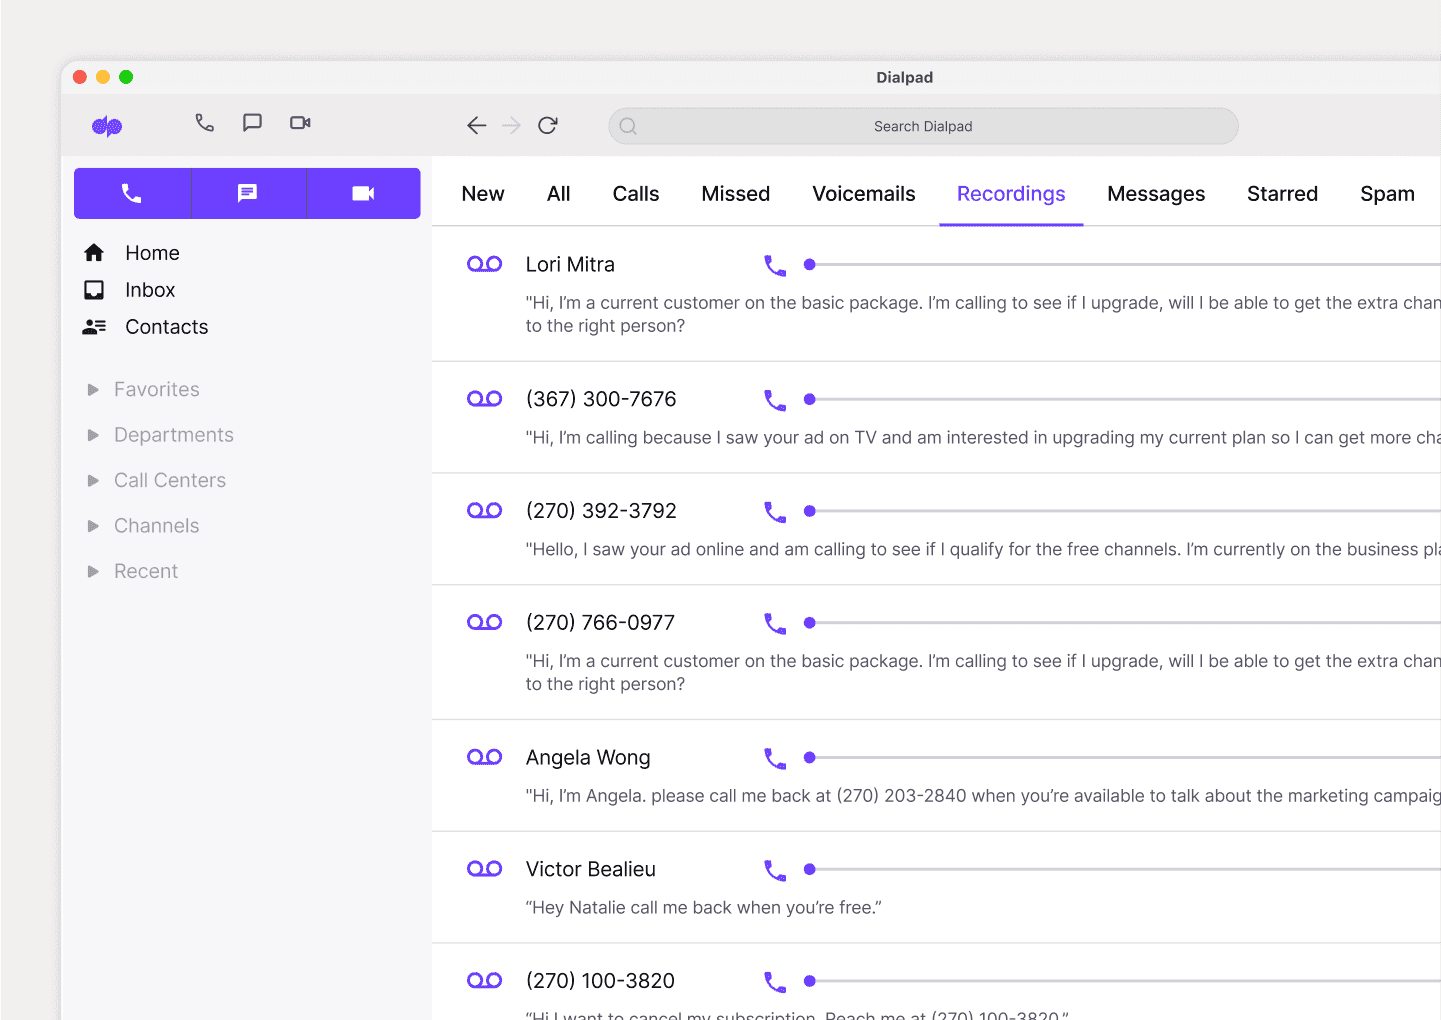
Whether it's for training purposes or just to have records of conversations with customers, a good call recording solution can be very helpful. With Dialpad, it comes built in, which means you don't have to buy a separate tool. Record meetings with just a click, and listen to recordings right from your app!
Built-in call analytics
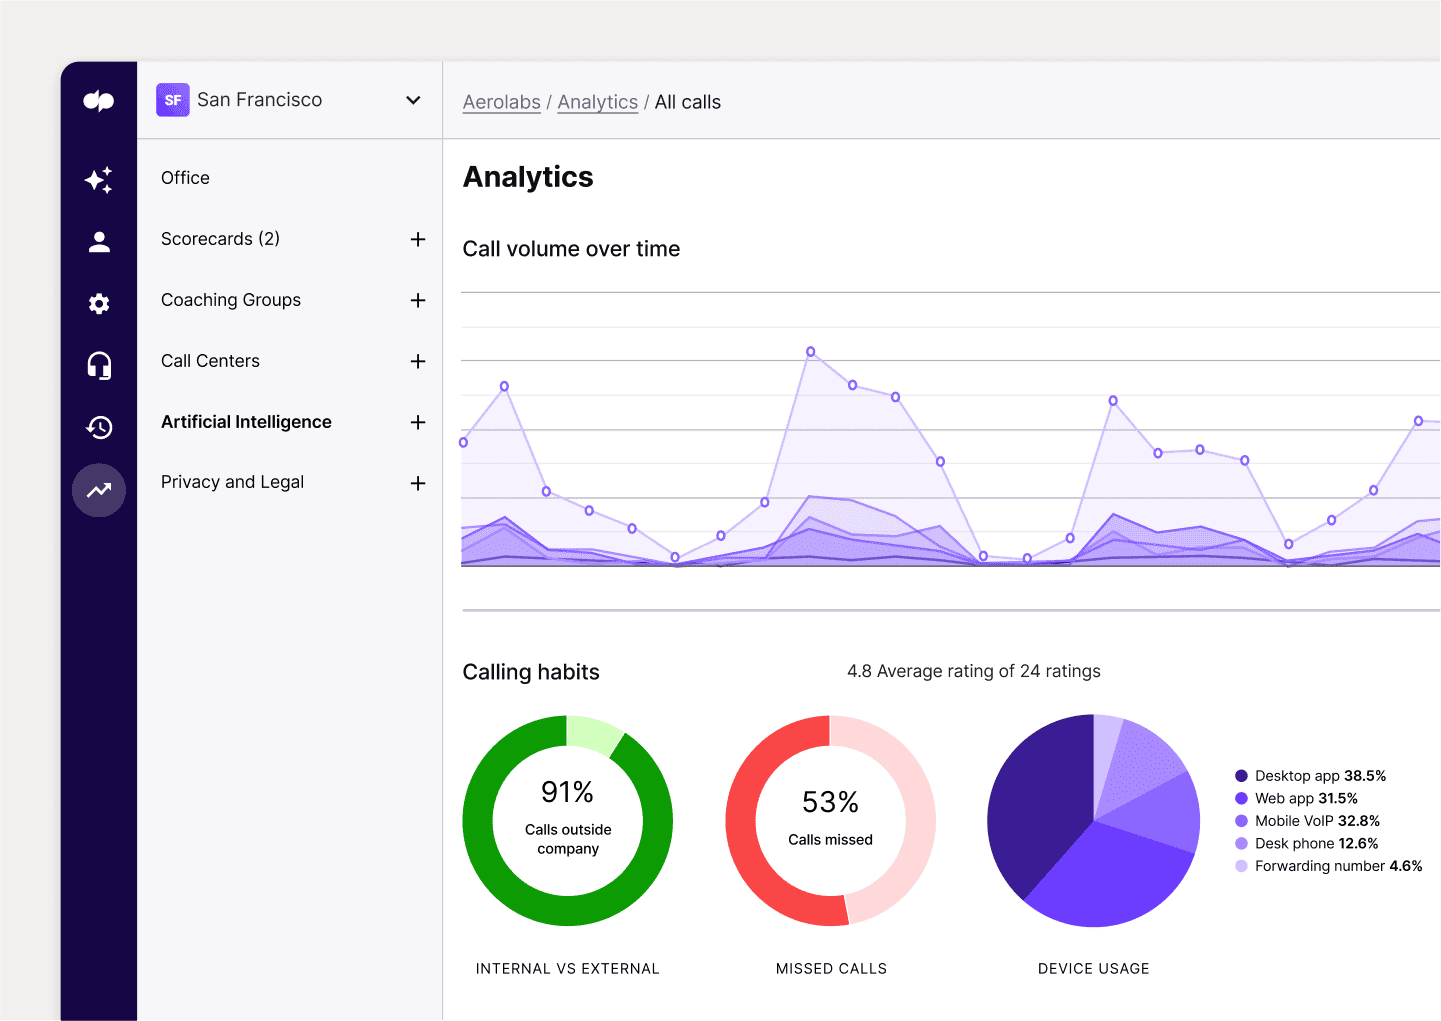
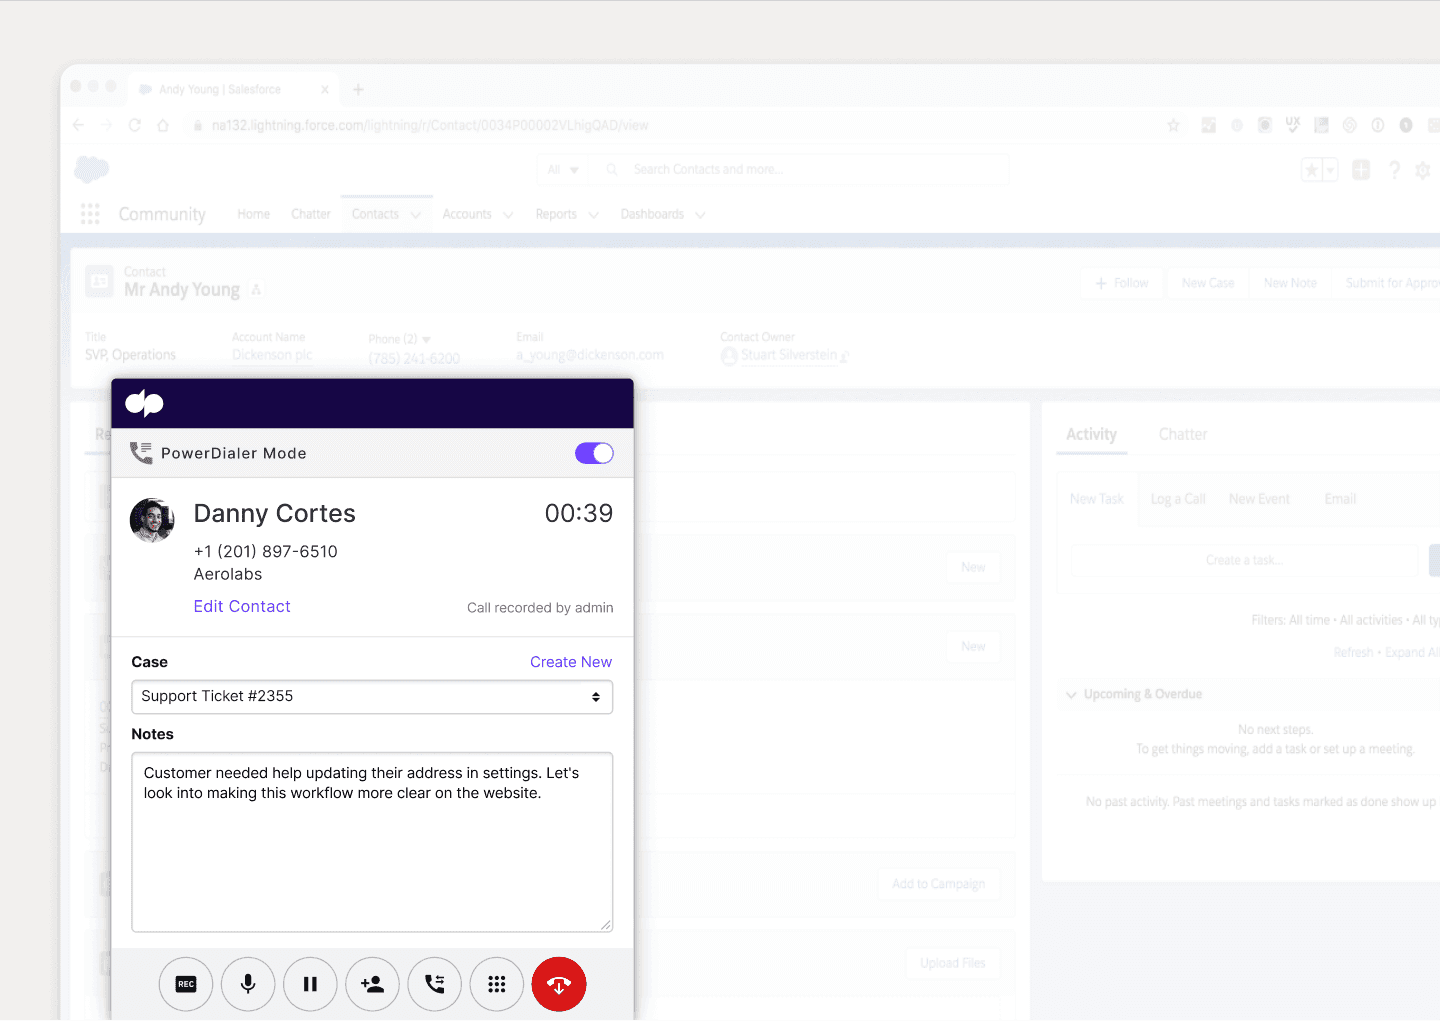
With Dialpad, you can track metrics and KPIs in real time to make more data-driven business decisions. Some key metrics that you can track with Dialpad include average handle time, agent availability, average wait time, call volume patterns, and so much more.
Integrations with your favorite tools
Whether you're using Google Workspace or Microsoft 365, Salesforce or HubSpot, Dialpad probably has a native integration with it. And if not, its open API lets you build custom integrations with niche tools!
Enterprise
Contact us for pricing
Enterprise-grade reliability with 99.9% uptime and unlimited scalability—built for organizations that need the best.
Everything in Pro, plus:
Provide secure access with SSO
Easily manage user access controls
Expand with unlimited office locations
Why do small businesses choose Dialpad when they're looking for a multi-line phone system?
Easy setup
Downtime can be a serious financial drain, especially if you’re a small business owner. Luckily, setting up with Dialpad is super easy—it can take just a few minutes and requires no technical skills.
🔎 Further reading:
See how Interstride, a startup, uses Dialpad to connect students with over 150 higher ed institutions like Harvard and Duke—from anywhere, no landlines needed.
Works across computers, mobile phones, tablets, browsers...
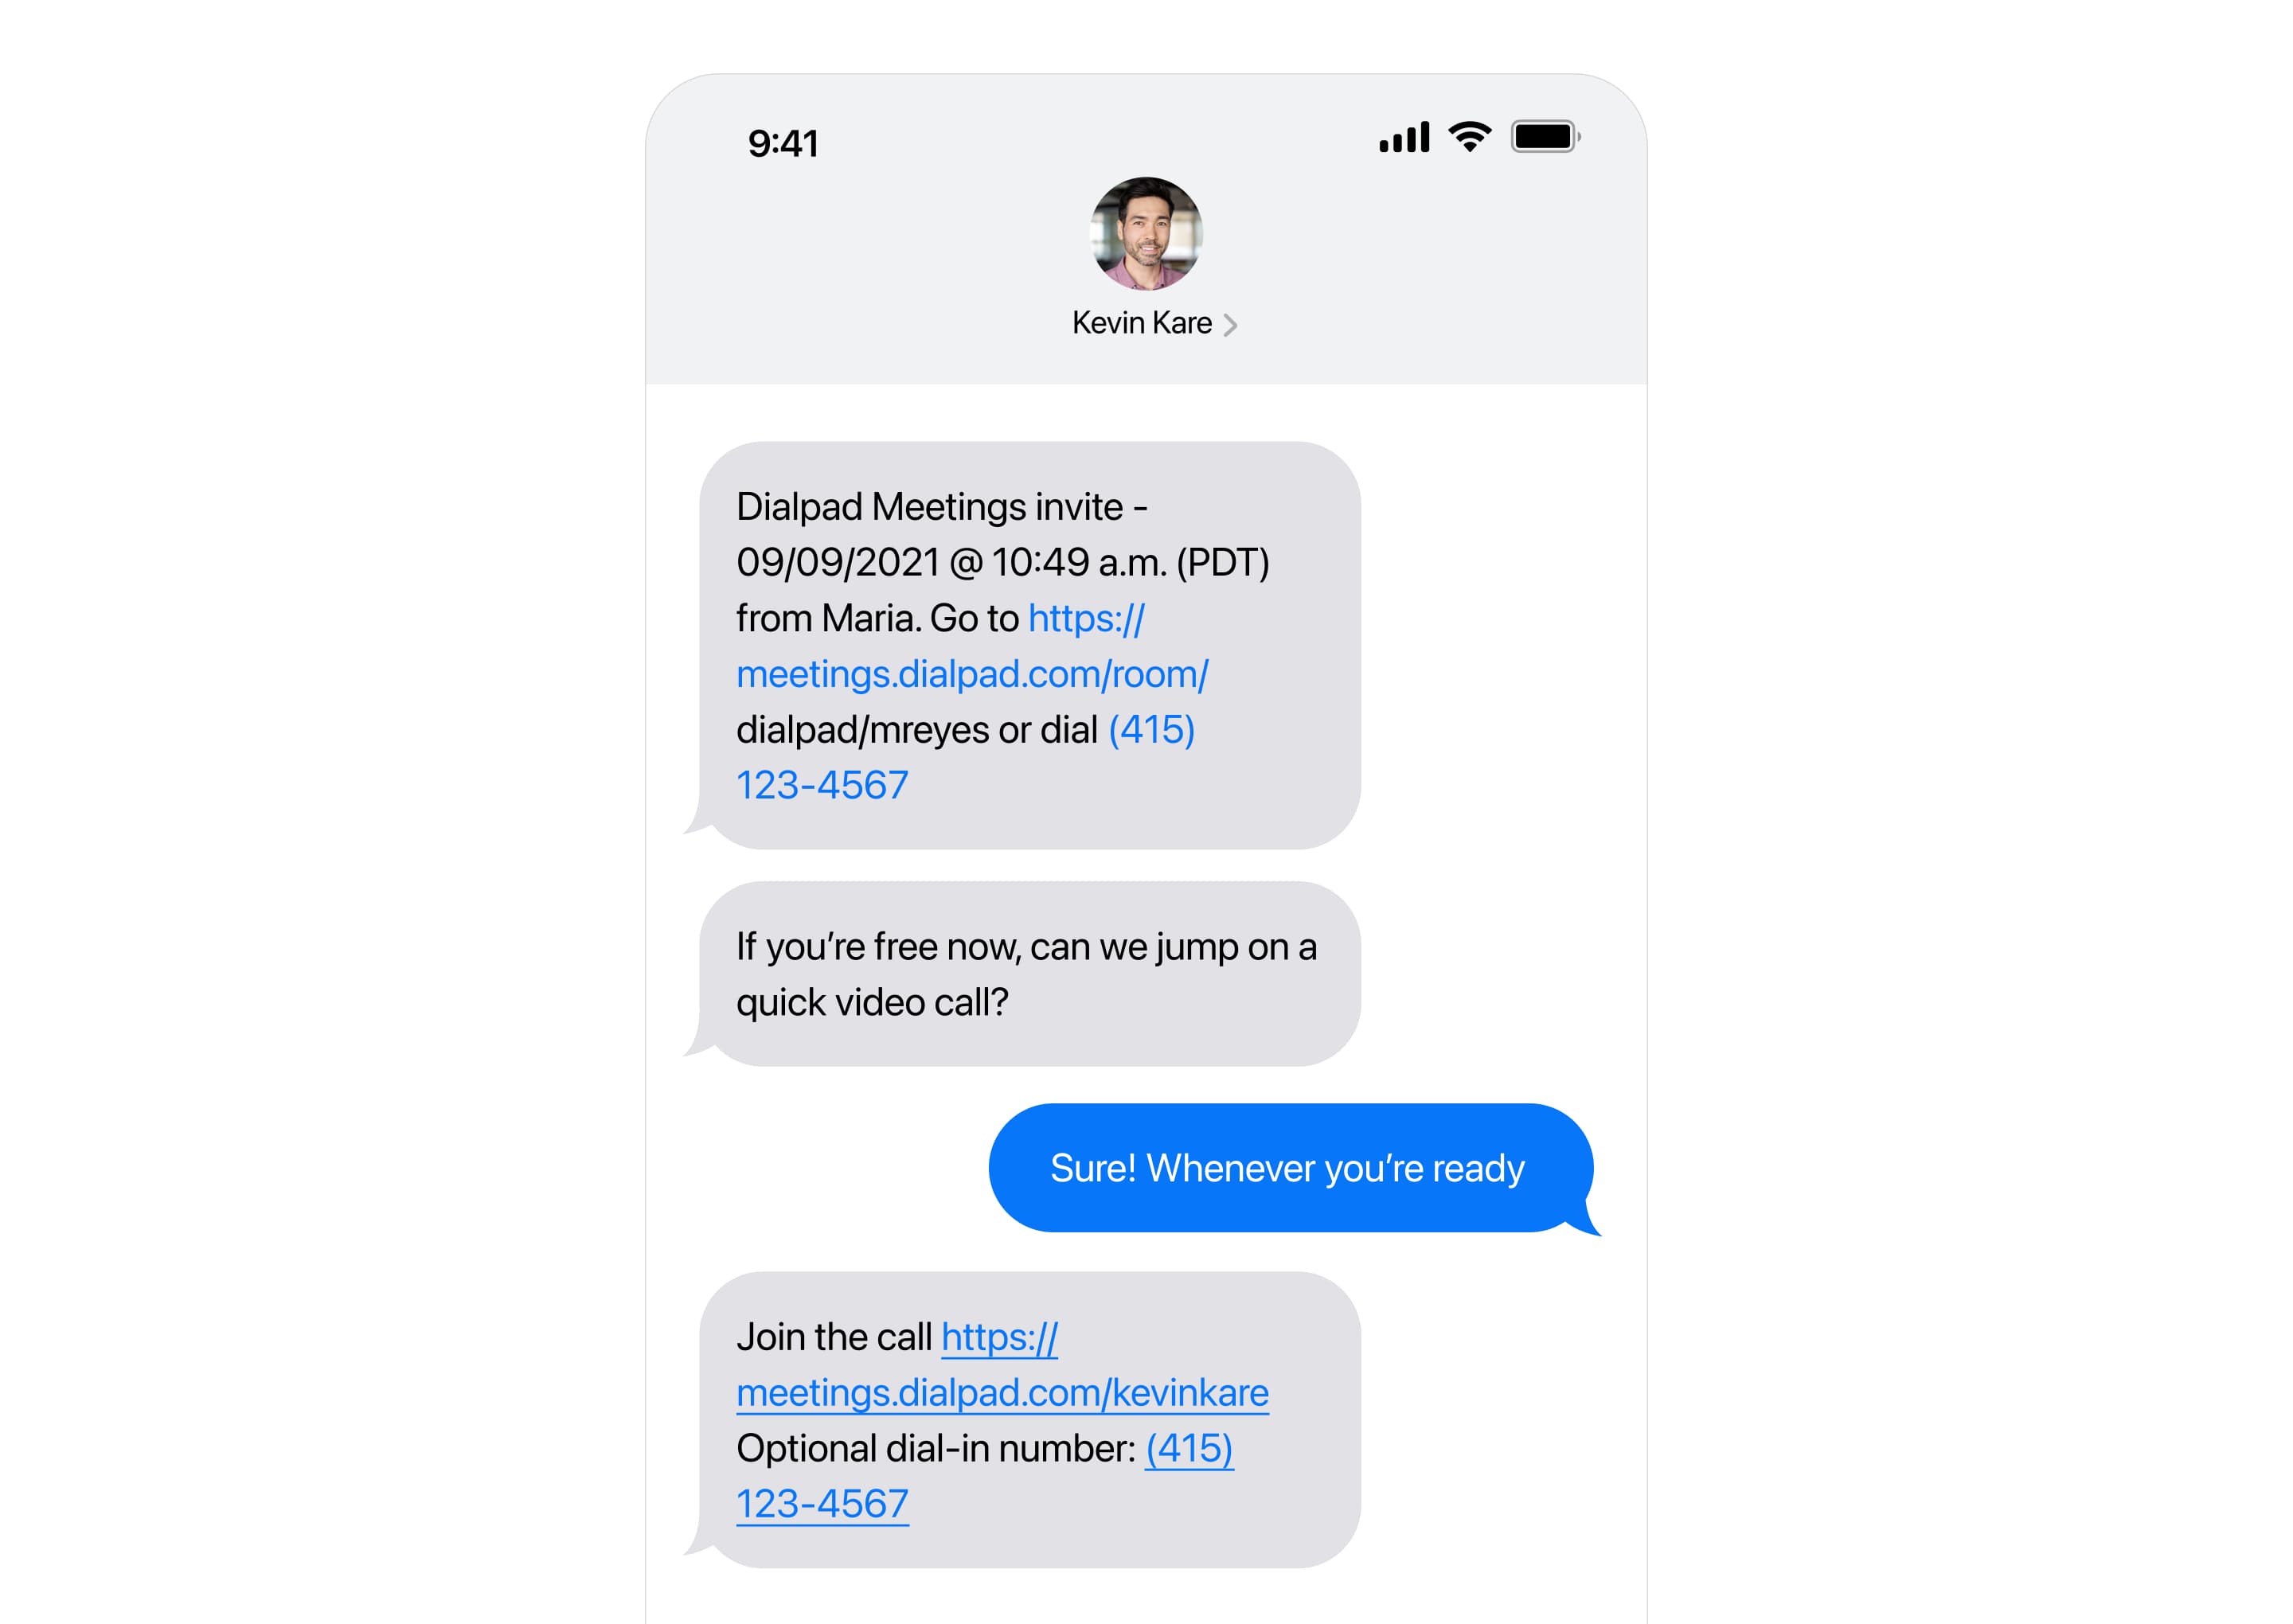
Dialpad's desktop and mobile app works across iOS, Android, PC, and Mac—and yes, even your web browser. This is important because if you regularly have calls or video conferencing with clients or prospects who may not feel comfortable downloading an app, they'll still be able to join your video meeting from a web browser by clicking a link. Oh, and Dialpad even lets you text them a meeting link for screen share(!) if they don't have the app:
Customer support, worldwide
With Dialpad, you won't be stuck with just an online Help Center when you need a hand. (Although our Help Center is extremely robust and probably has the answers you're looking for.) Dialpad has live chat and phone support worldwide, to make sure that any questions or issues you have are resolved as quickly as possible. Messages not sending? We’ll sort it.
Enterprise-grade security and compliance
Security is everything, especially when it comes to customer conversations and call recordings. Dialpad strictly complies with SOC Type II, GDPR, HIPAA, and CSA guidelines, and equips all of our solutions with enterprise-grade security features like access management and data encryption. It's a big reason why businesses and organizations across regulated industries like healthcare, insurance, and law use Dialpad. Learn more here.
(And if there's a power outage, you can still use your cell phone! Can't do that with desk phones.)
Unique dual-cloud architecture
Dialpad's unique dual-cloud architecture is designed to give you better call quality, from all around the world. (And if you really want to get into the details, it does it more efficiently too, which means it doesn't need as many data centers to do the same job as other providers. But you can ask us more about that if you're interested.)
💡 Fun fact:
Most phone systems are compatible with Bluetooth headsets, so if you're looking for a hands-free experience, check out these headsets (ranked from premium to budget)!
Super scalability
Ease-of-use. Stress-free scalability. With a VoIP phone system, you can have both. That means you can add and remove users, phone lines, features, and even locations as and when you please. There’s no technical knowledge required to do the job either—you can usually handle pretty much everything from your online dashboard.
A quick note: 2 types of multi-line phone systems to be aware of
As you're shopping, you'll come across traditional landline phone systems and more modern cloud-based phone systems.
Traditional analog multi-line systems (like your basic landline or traditional PBX system) have been steadily growing obsolete because they have lots of hardware requirements and aren't very remote-work-friendly. Typically, they offer a limited number of lines and have only basic switching, holding, and speakerphone functionality.
Cloud-based multi-line phone systems, on the other hand, use
(VoIP) technology to let you make voice calls over an Internet connection. There’s no expensive hardware needed and hardly any of the device and line restrictions that come with traditional systems. In fact, as long as you have a stable Internet connection, you can have as many lines as you need.
Today, most companies are moving toward cloud-based phone systems because of this (not to mention they also come with a lot of advanced features to streamline your communication channels, along with the essentials like call transferring, call waiting, and speed dial).
How to set up a multi-line phone system for your business
1. Sign up for one of Dialpad's plans
Creating an account with Dialpad takes just a few minutes. Go to dialpad.com/signup and you'll be able to sign up with your Google or Microsoft 365 account, or your email address.
After you've signed up, you'll be sent to the “Clients” tab, where you can choose the type of business you have and the number of lines you want to have to cover. This will get you started with a 14-day free trial. Once that trial is over, you’ll have the choice of converting to a paid account.
2. Assign phone extensions
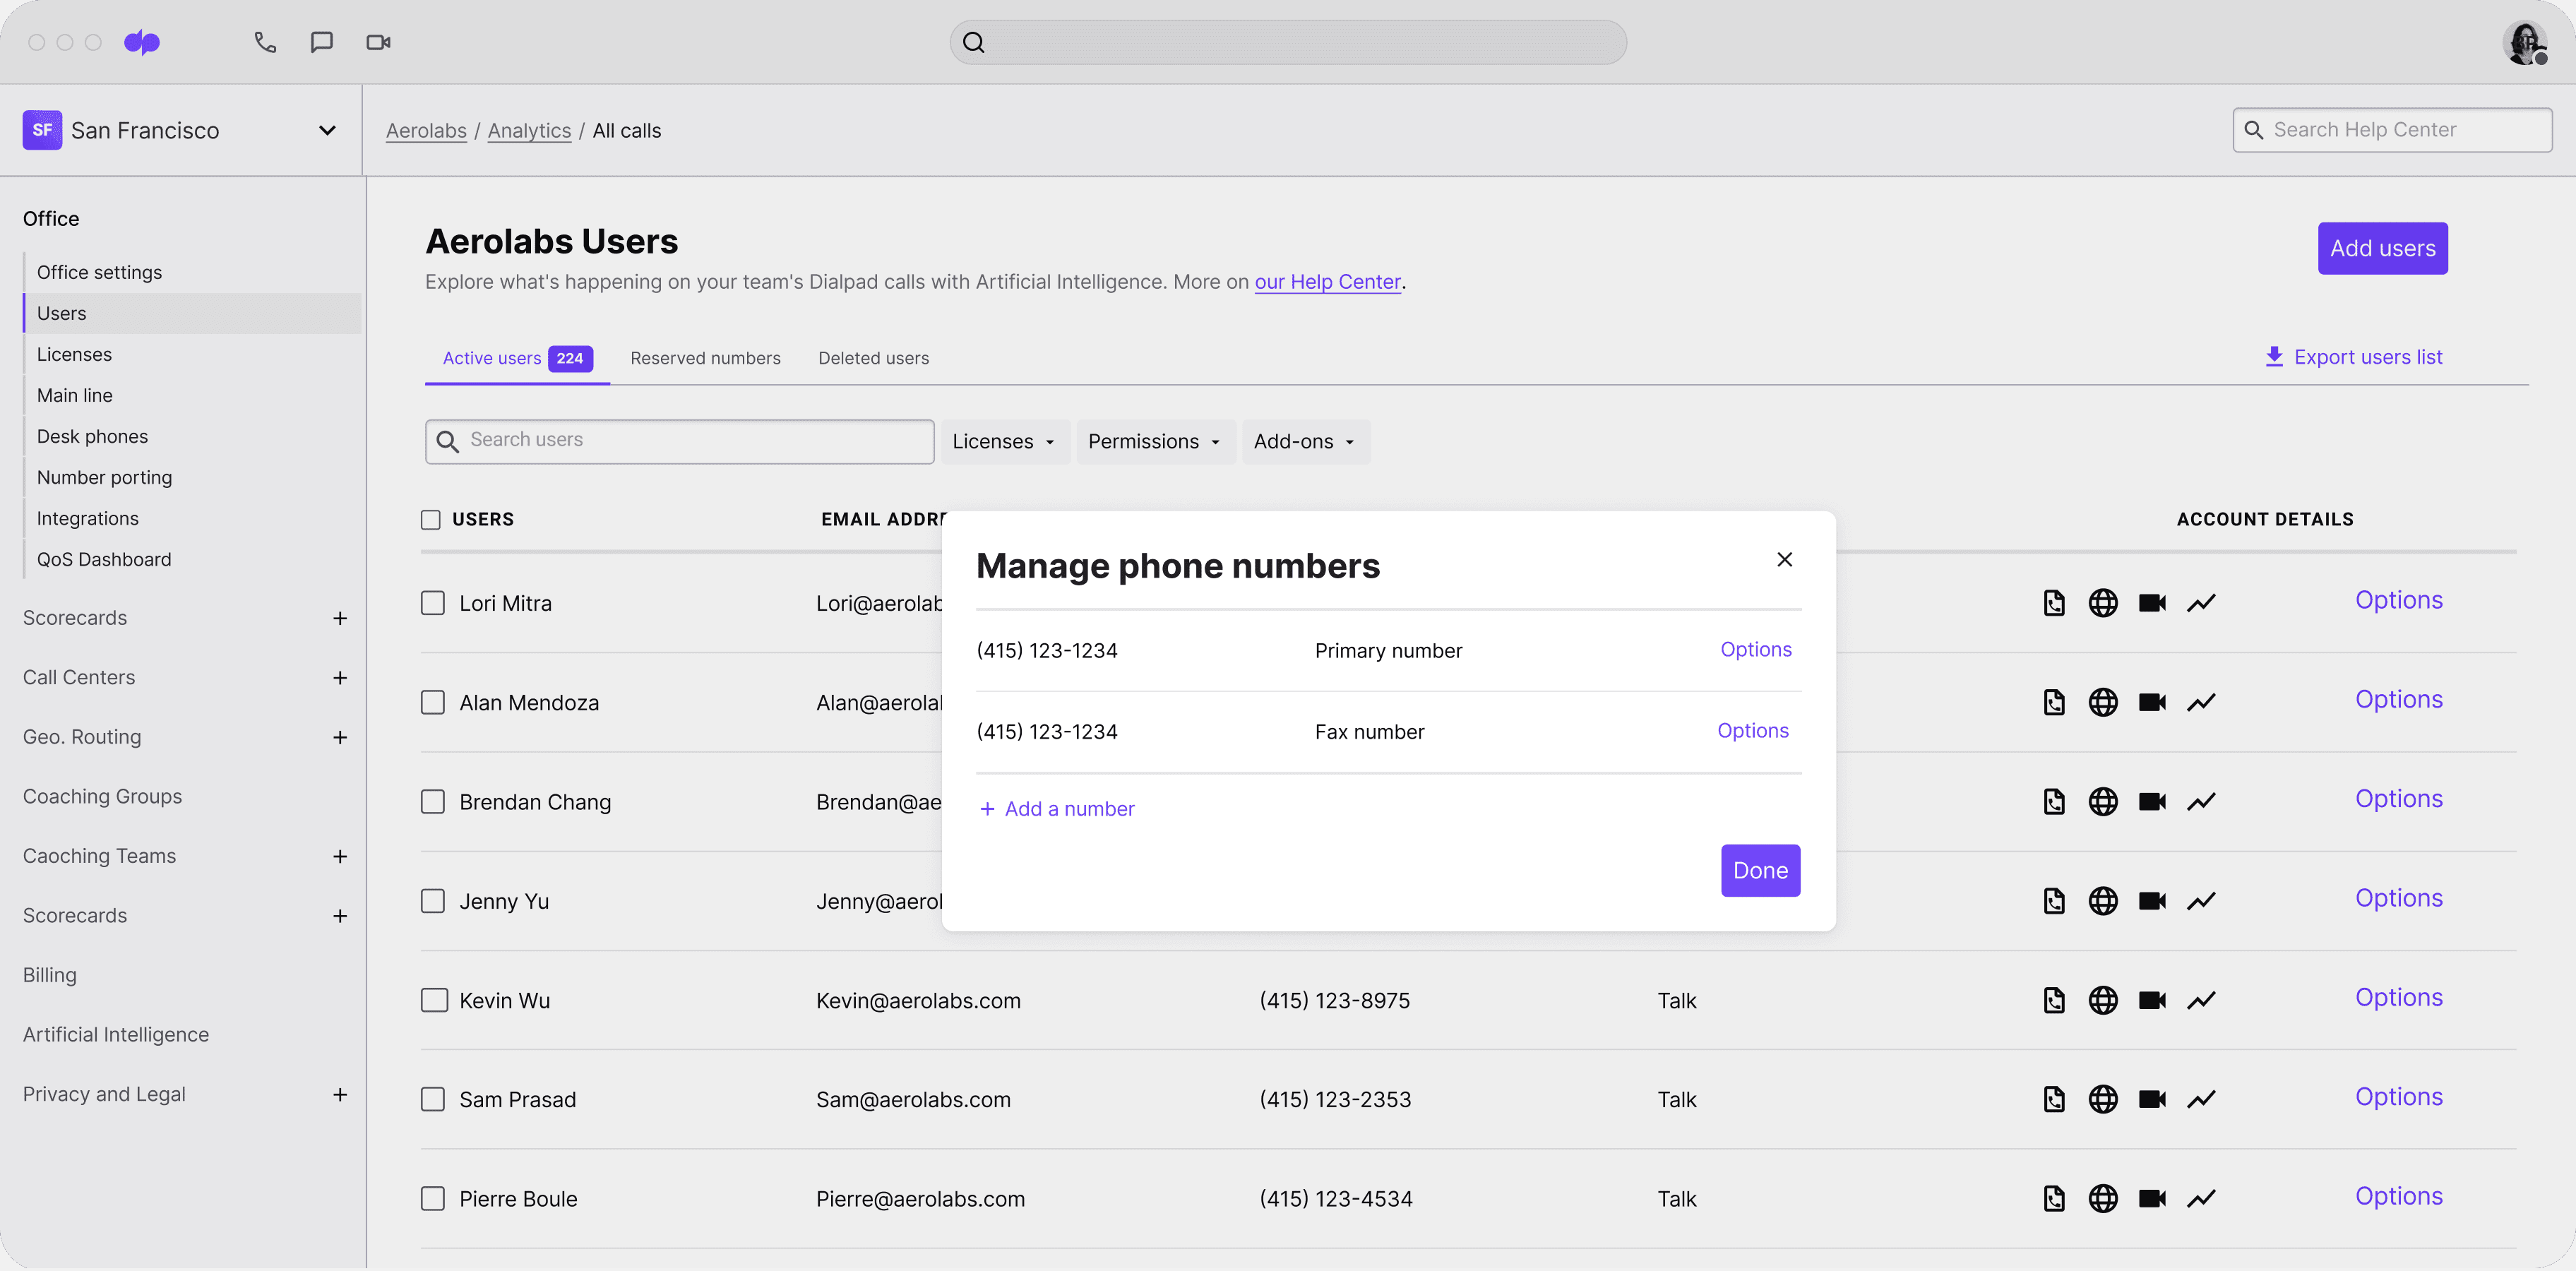
Once you’ve created your account, you will be able to set up your business line. If you have multiple locations, you can add each location as a separate location. By assigning phone extensions, you can make sure all phone lines have their own unique code.
3. Start making and answering calls
Now you're all set up and ready to start making and answering calls! To make a call, just open up the desktop or mobile app (or log in on a web browser) and click the phone icon. In the Connect box, you can enter the number you’d like to call or the name of the person you are calling if they're in your Contacts list.
4. Customize your call settings
Any good phone system will let you set customized greetings and ringtones, but there are also several other call settings and features that you can manage with just a few clicks in Dialpad.
From the Settings menu, click the Advanced tab, where you can do things like port over existing phone numbers, add a new virtual phone number, set call forwarding numbers, and more.
5. Record and upload your own personalized greetings
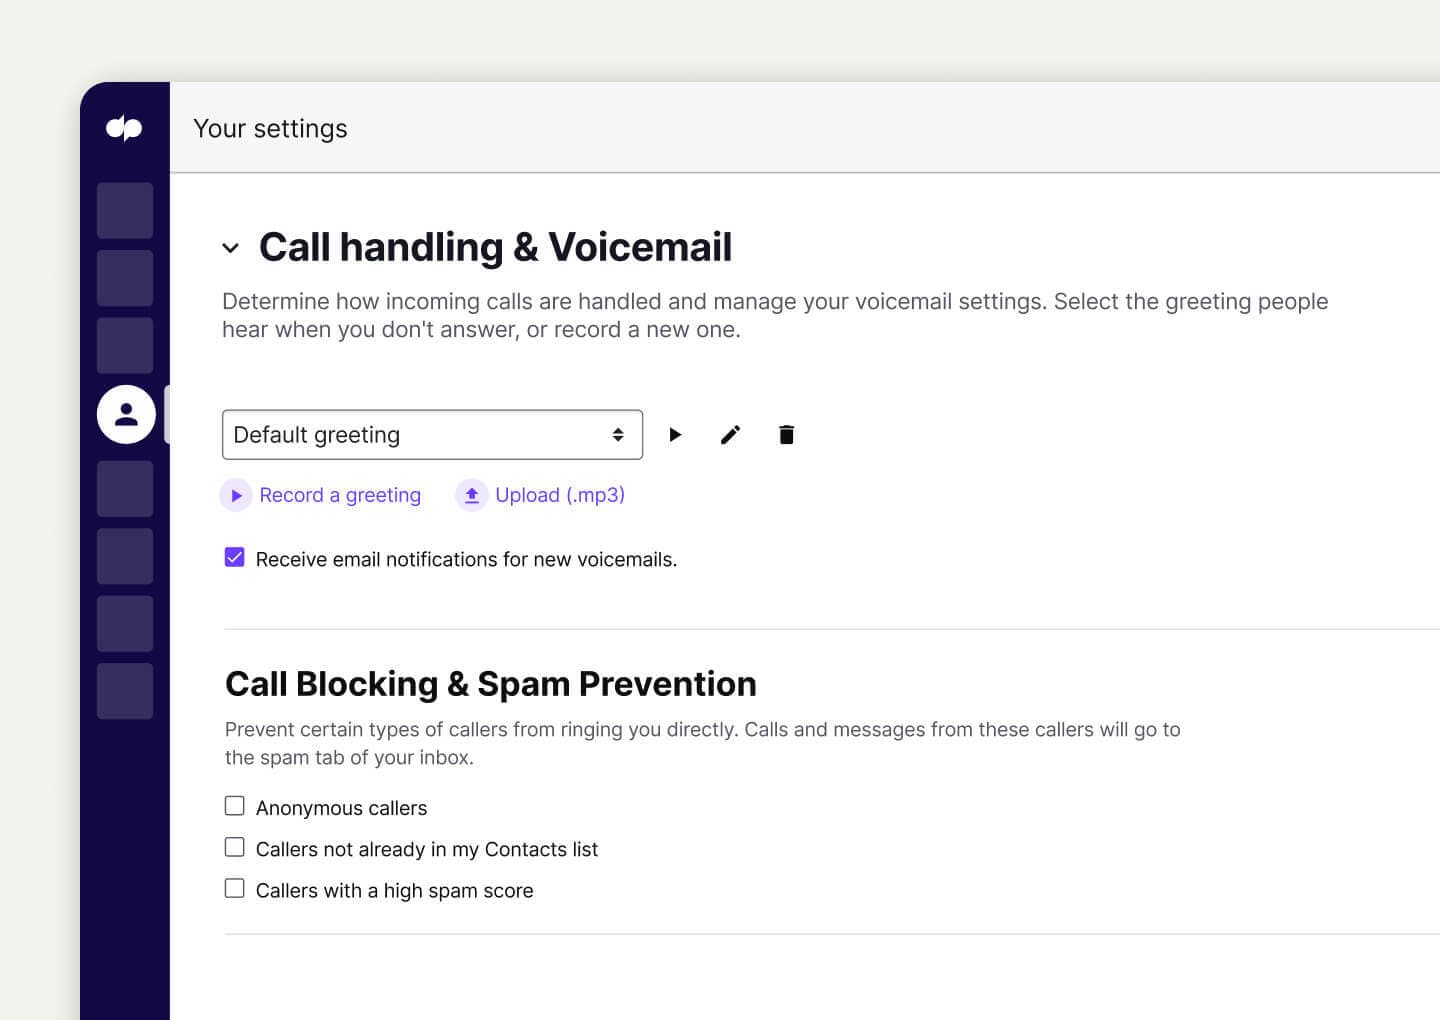
To record personalized greetings for each of your phone lines, just go to your Settings and hit "Call handling & Voicemail." From there, you'll be able to record or upload a greeting:
Get started with a multi-line phone system for your small business
Or more accurately, an AI-powered communications platform that lets you work from anywhere. Book a demo to see how it can work for your small business, or take a self-guided interactive tour of the app on your own!
